The Ultimate Lotus Cheesecake (No-Bake, Creamy & Irresistible)
This Lotus Cheesecake is a silky, caramelized dream made with creamy Biscoff spread, buttery biscuit crust, and a beautifully smooth no-bake filling. A showstopper dessert with minimal effort.
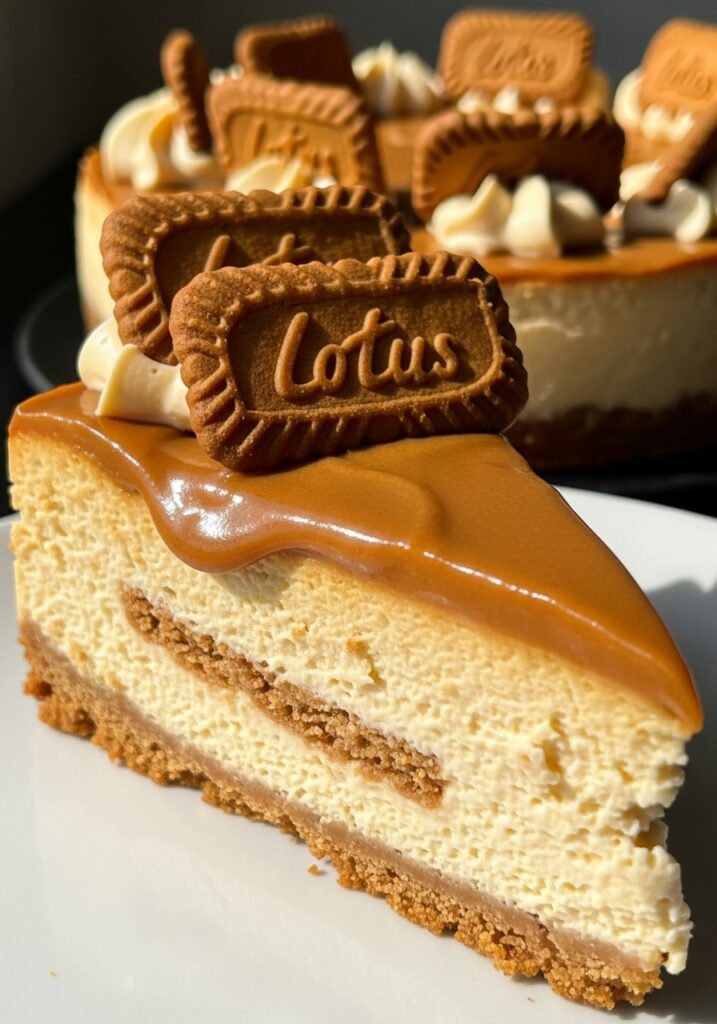
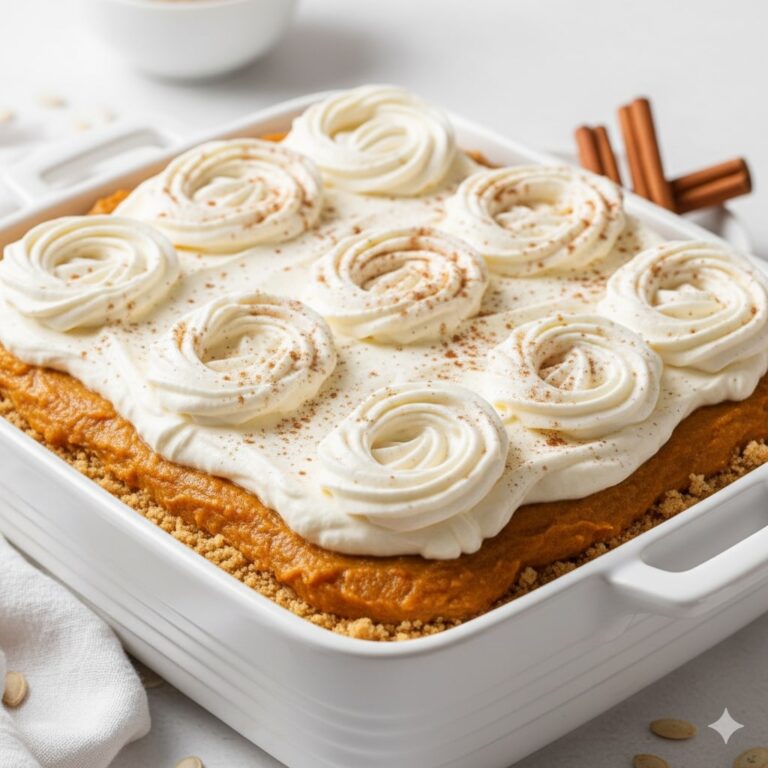
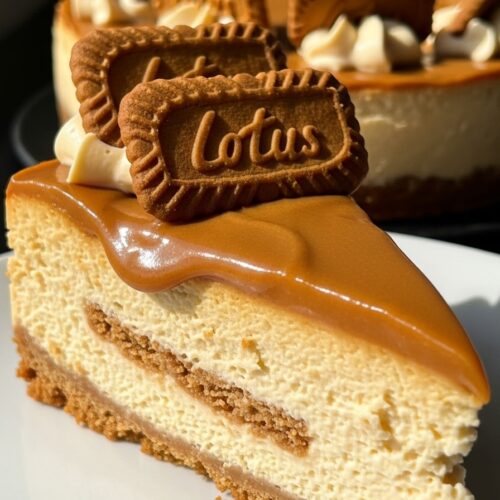
A rich, velvety cheesecake whipped with Lotus Biscoff spread and set over a buttery biscuit crust. This no-bake Lotus Cheesecake is creamy, caramelized, and picture-perfect with its iconic Biscoff topping.
Every time I make this Lotus Cheesecake, I’m reminded why Biscoff desserts have taken over the internet. The smooth caramel flavor, combined with a no-bake cheesecake filling, creates a luxurious texture that feels bakery-quality.
Why You’ll Love This Recipe
- No-Bake & Foolproof: Sets beautifully in the fridge—no oven, no cracks, no stress.
- Rich Caramel Flavor: Lotus Biscoff adds warm, spiced sweetness you can’t resist.
- Stunning Aesthetic: Naturally perfect for Lotus cheesecake decoration or social media shots.
- Crowd-Pleaser: Ideal for gatherings, birthdays, and fans of Lotus Biscoff desserts.
- Customizable: Works for mini cheesecakes, jars, or layered Lotus Biscoff cake versions.
The Ultimate Lotus Cheesecake
Ingredients
- For the Crust
- 2 cups Lotus Biscoff biscuits crushed
- 6 tablespoons melted butter
- Pinch of salt
- For the Cheesecake Filling
- 24 oz cream cheese softened
- 1 cup heavy whipping cream
- ¾ cup Lotus Biscoff spread
- ¾ cup powdered sugar
- 2 teaspoons vanilla extract
- For the Lotus Topping
- ½ cup melted Lotus Biscoff spread
- Extra Biscoff biscuits for decoration
- Crushed Biscoff crumbs optional for edges
Instructions
- Make the Crust
- Mix crushed Biscoff biscuits with melted butter and salt.
- Press the mixture into the bottom of a 9-inch springform pan.
- Smooth it evenly and refrigerate for 15–20 minutes to set.
- Prepare the Filling
- Beat cream cheese until silky and smooth.
- Add powdered sugar and vanilla; mix until fully combined.
- In a separate bowl, whip the heavy cream to stiff peaks.
- Fold whipped cream into the cheesecake mixture gently.
- Add Lotus Biscoff spread and fold until evenly caramel-toned and airy.
- Assemble the Cheesecake
- Spoon the filling over the chilled crust.
- Smooth the top using a spatula for a clean cheesecake aesthetic.
- Chill for 6 hours minimum, preferably overnight.
- Add the Lotus Topping
- Melt Lotus spread until pourable (not hot).
- Gently pour over the chilled cheesecake and tilt the pan to coat evenly.
- Let it set in the refrigerator for at least 30 minutes.
- Decorate
- Create your Lotus cake design using whole biscuits, crumbs, or a lotus flower pattern. This step enhances presentation and turns your dessert into a bakery-worthy centerpiece.
Nabeela’s Pro Tips
1. Use full-fat ingredients for best texture
Lotus cheesecake relies on richness. Full-fat cream cheese and heavy cream create the thick, luxurious texture that no-bake cheesecakes are known for.
2. Chill overnight for perfect slices
Although it sets in 6 hours, overnight chilling ensures clean, sharp slices—especially helpful if you’re creating a Lotus cake design or spiral decoration.
3. Keep the Lotus topping slightly warm
Warm (not hot) Biscoff spread pours smoothly without ripping the cheesecake layer. Let it cool for 1–2 minutes before coating the top.
4. Whip cream to stiff peaks
Underwhipped cream makes the filling too soft. Proper stiff peaks give the cheesecake the stability it needs to hold its shape.
5. Add extra layers for presentation
To achieve a bakery-style Lotus Biscoff Cake look, add a thin layer of Biscoff between the crust and filling. It adds flavor and creates a beautiful layered aesthetic.
6. Use a hot knife for slicing
Dip your knife in hot water and wipe between each slice. This keeps the edges clean and professional—perfect for photos.
7. Decorate just before serving
Whether using whole biscuits, crumbs, or a lotus flower pattern, add decorations close to serving time to prevent biscuits from softening.
FAQs
1. Can I make this recipe without heavy cream?
Heavy cream helps create the airy, mousse-like texture. If you skip it, the cheesecake will be denser and less fluffy. You can substitute with whipped topping, but the flavor and structure will differ slightly.
2. How do I prevent the Lotus topping from cracking?
Make sure the cheesecake is fully chilled before adding the warm topping. Also pour gently and tilt the pan instead of using pressure from a spatula. This prevents breaking the chilled surface and ensures a smooth, glossy finish.
3. Can I turn this Lotus Cheesecake into individual desserts?
Absolutely! Layer the crust, filling, and topping into small jars or silicone molds. These mini versions set quickly and are great for parties or gifting. You can also use this method to create Lotus Biscoff desserts or parfait-style cups.
4. How long does this cheesecake last?
Store the cheesecake covered in the refrigerator for 4–5 days. The Biscoff topping stays glossy, and the filling keeps its creamy texture. For long-term storage, freeze slices tightly wrapped for up to 2 months.