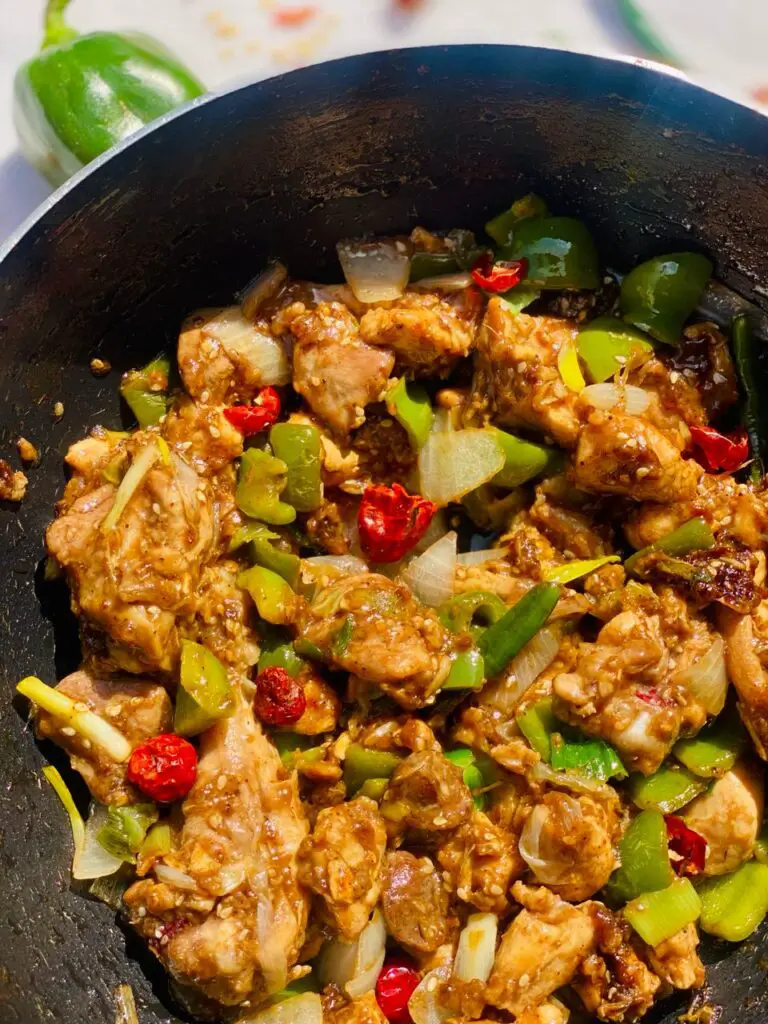
Chicken Nihari Recipe
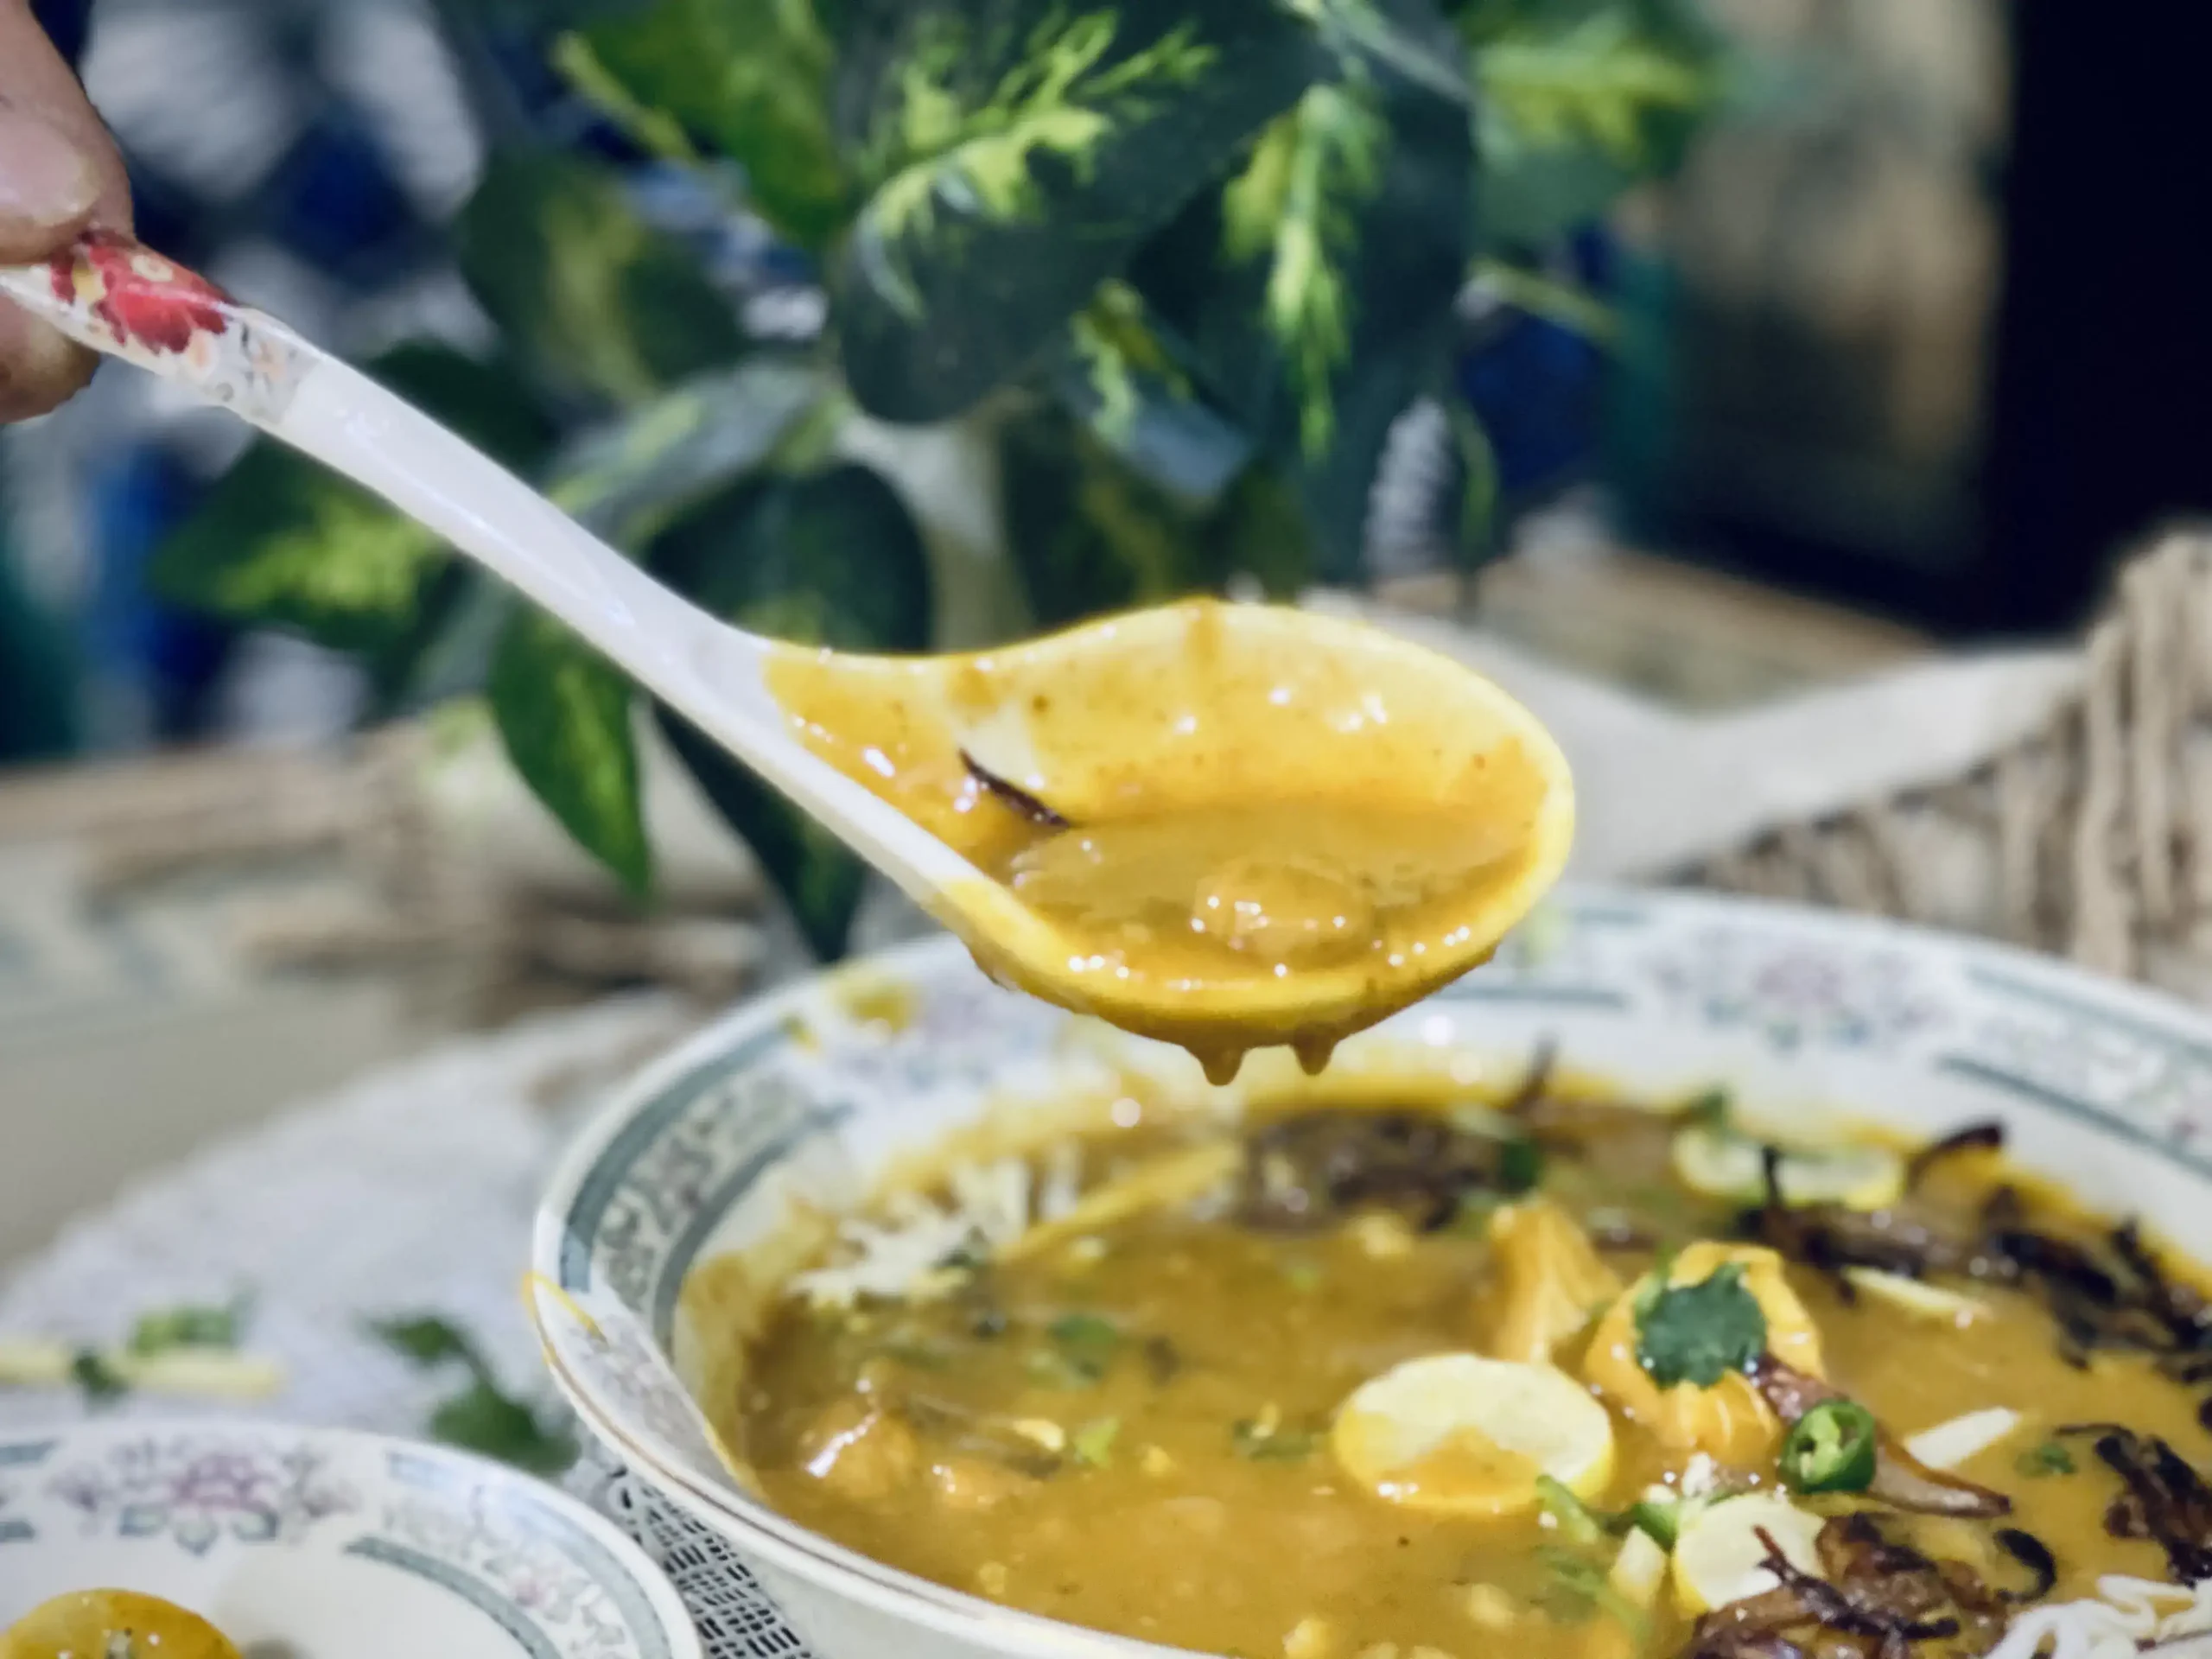
Here is the famous Chicken Nihari that you can make in just 30 minutes. This cuisine’s thickness, aroma, and color will make you drool. Plus, I will share my pro tip to make it thick.
Chicken Nihari is a traditional breakfast dish that most Pakistanis are addicted to. Even though you can use beef instead of chicken in Nihari, if you’re not a fan of beef, the Chicken Nihari will still be your best companion to satisfy your taste buds.
Unlike the Haleem, this delightful treat is super easy to make; even if you’re a novice in the cooking field, you can still make delectable spicy chicken Nihari in just 25 – 30 minutes. Guarantee!
This traditional cuisine comprises flour that I will use to make it a little thick, various spices easily available in your kitchen, and some medley of minced garlic, onions, cilantro, and chilies that I will use for garnishing.
I’m using store-bought Nihari masala for this curry, but you can also opt for homemade Nihari masalas. I’ll share a recipe later on for making this masala at home.
Ha! I get it—time is precious! So, for my time-saver readers, just rip open that masala sachet and give your stew a good sprinkle. But have the freedom to choose whatever works best for your curry.
Check Out: Special Chicken Dopiaza Curry
What Is Nihari And Its Origin?
Nihari is a famous Indian dish first made in Mughal reign. This thick broth is made of slow-cooking meat, especially for people who use beef to make this recipe, but you can also use chicken according to your taste.
Here is my beef Nihari Recipe
While this curry is well-known in the Indian subcontinent and Pakistan, the term ‘Nihari’ actually originates from Arabic, where it means ‘day’ or ‘morning.’ The Mughals would savor this exquisite stew during the day to energize themselves and effectively tackle their daily tasks.
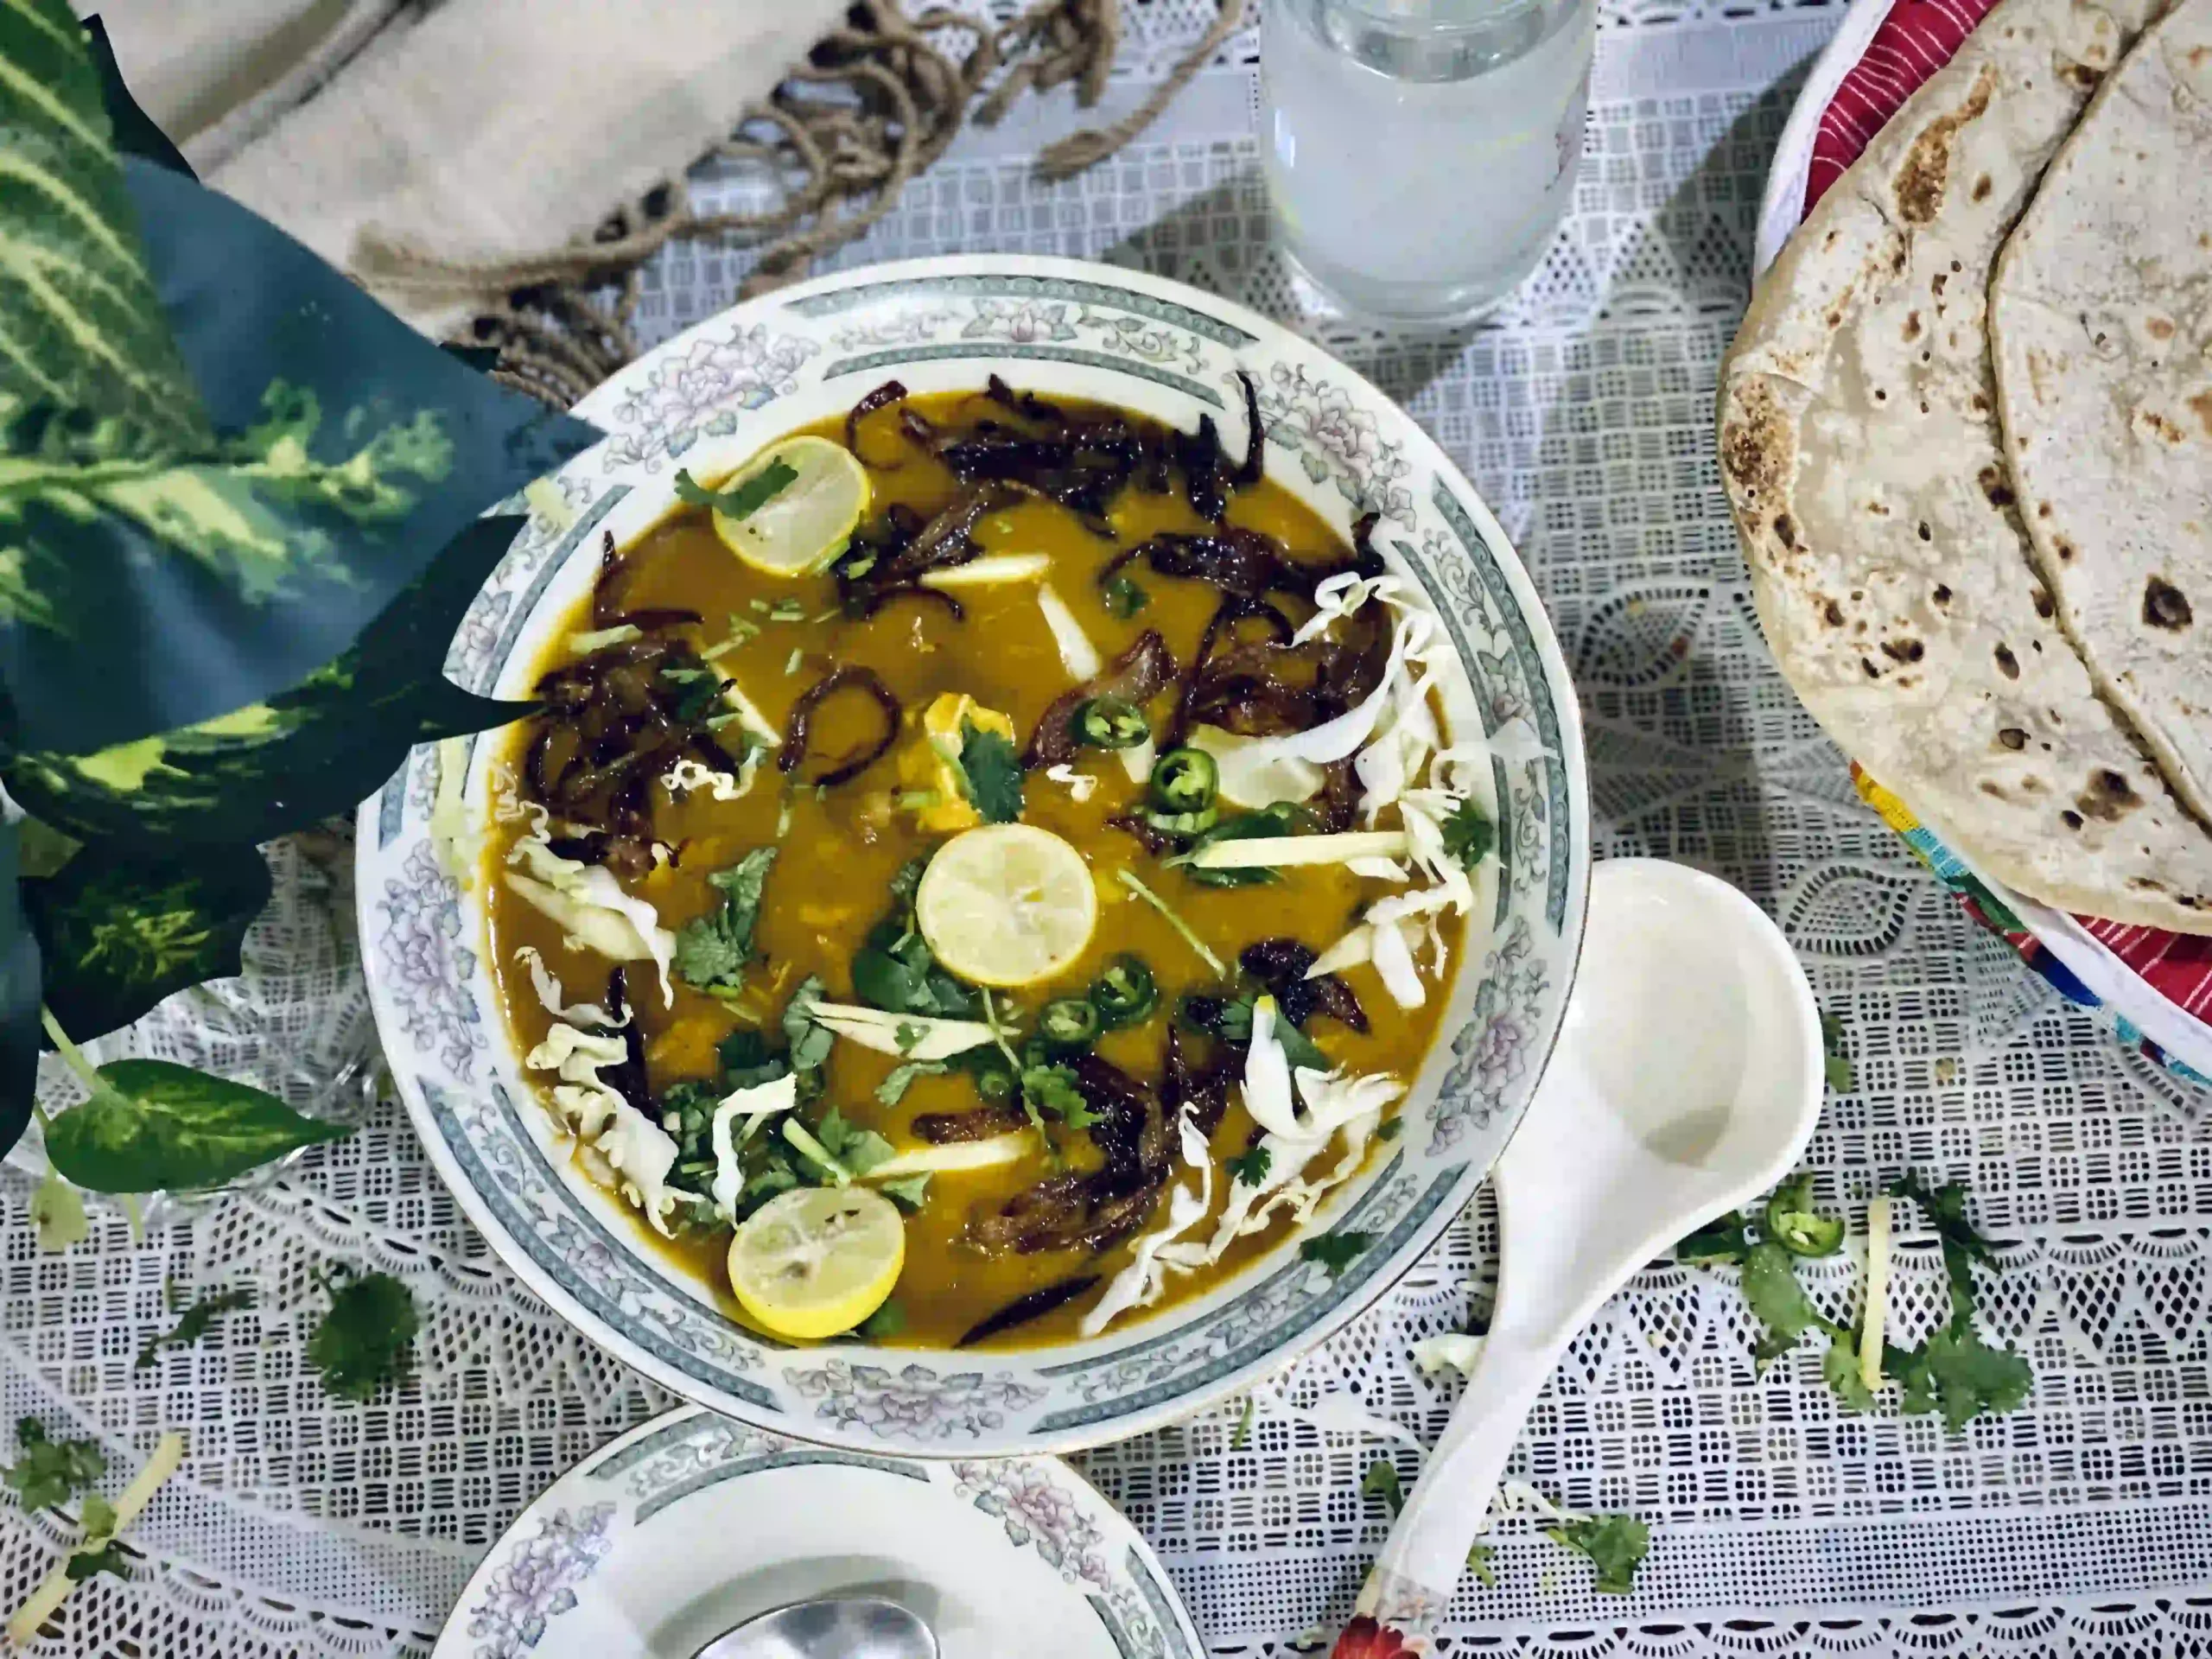
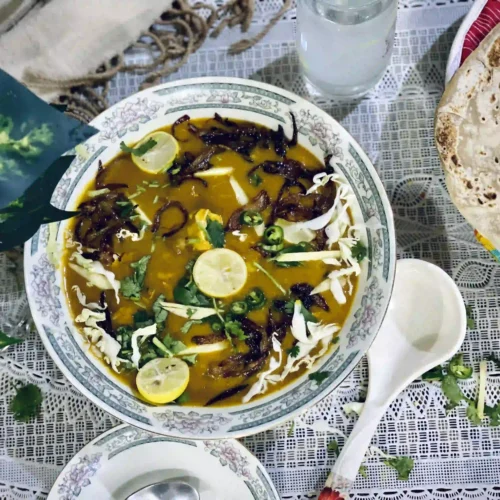
In Pakistan, we often serve chicken nihari for breakfast with naans and garnish it with fresh coriander, ginger slices, and sometimes fried onions.
This recipe has a savory flavor profile that none of the chicken dishes offer. The thing that makes the chicken the softest and tenderest is the slow cooking process.
I believe that the chicken of Nihari just melts in your mouth—it’s the key to satisfying those taste buds! So, I’ve got a little secret tip up my sleeve to make sure the chicken turns out super tender and soft.
How To Prepare Homemade Nihari Masala?
My mom usually recommends using homemade Nihari masala because you can customize the heat of spices according to your flavor and taste buds.
But I always go with the pre-made Nihari masala available at utility stores. If you’re a student or living abroad without your family, I recommend using the store-bought Nihari Masala.
Otherwise, if you prefer homemade masala, here is a quick recipe.
- One tablespoon red chili powder or Kashmiri mirch.
- 2 small cardamom
- 1/4 tablespoon of ginger powder
- 1/4 tablespoon of onion powder
- 1/8 tablespoon of seeds
- Add minute amount of salt
- 1 small mace blade
- 3/4 inch long pepper (Peepli)
- 1/4 tablespoon of saunf (fennel seeds)
- 1/4 tablespoon of warm masala powder
- 1/8 tablespoon kalonji (Nigella Seeds)
- 1/8 tablespoon of jeera ( caraway seeds )
- Add a pinch cane sugar according to your taste
Make the powder of this medley of spices in a grinder machine, and your homemade nihari masala is ready to use.
Check Out: Special Chicken Bhuna Masala Recipe
Ingredients Needed For Chicken Nihari
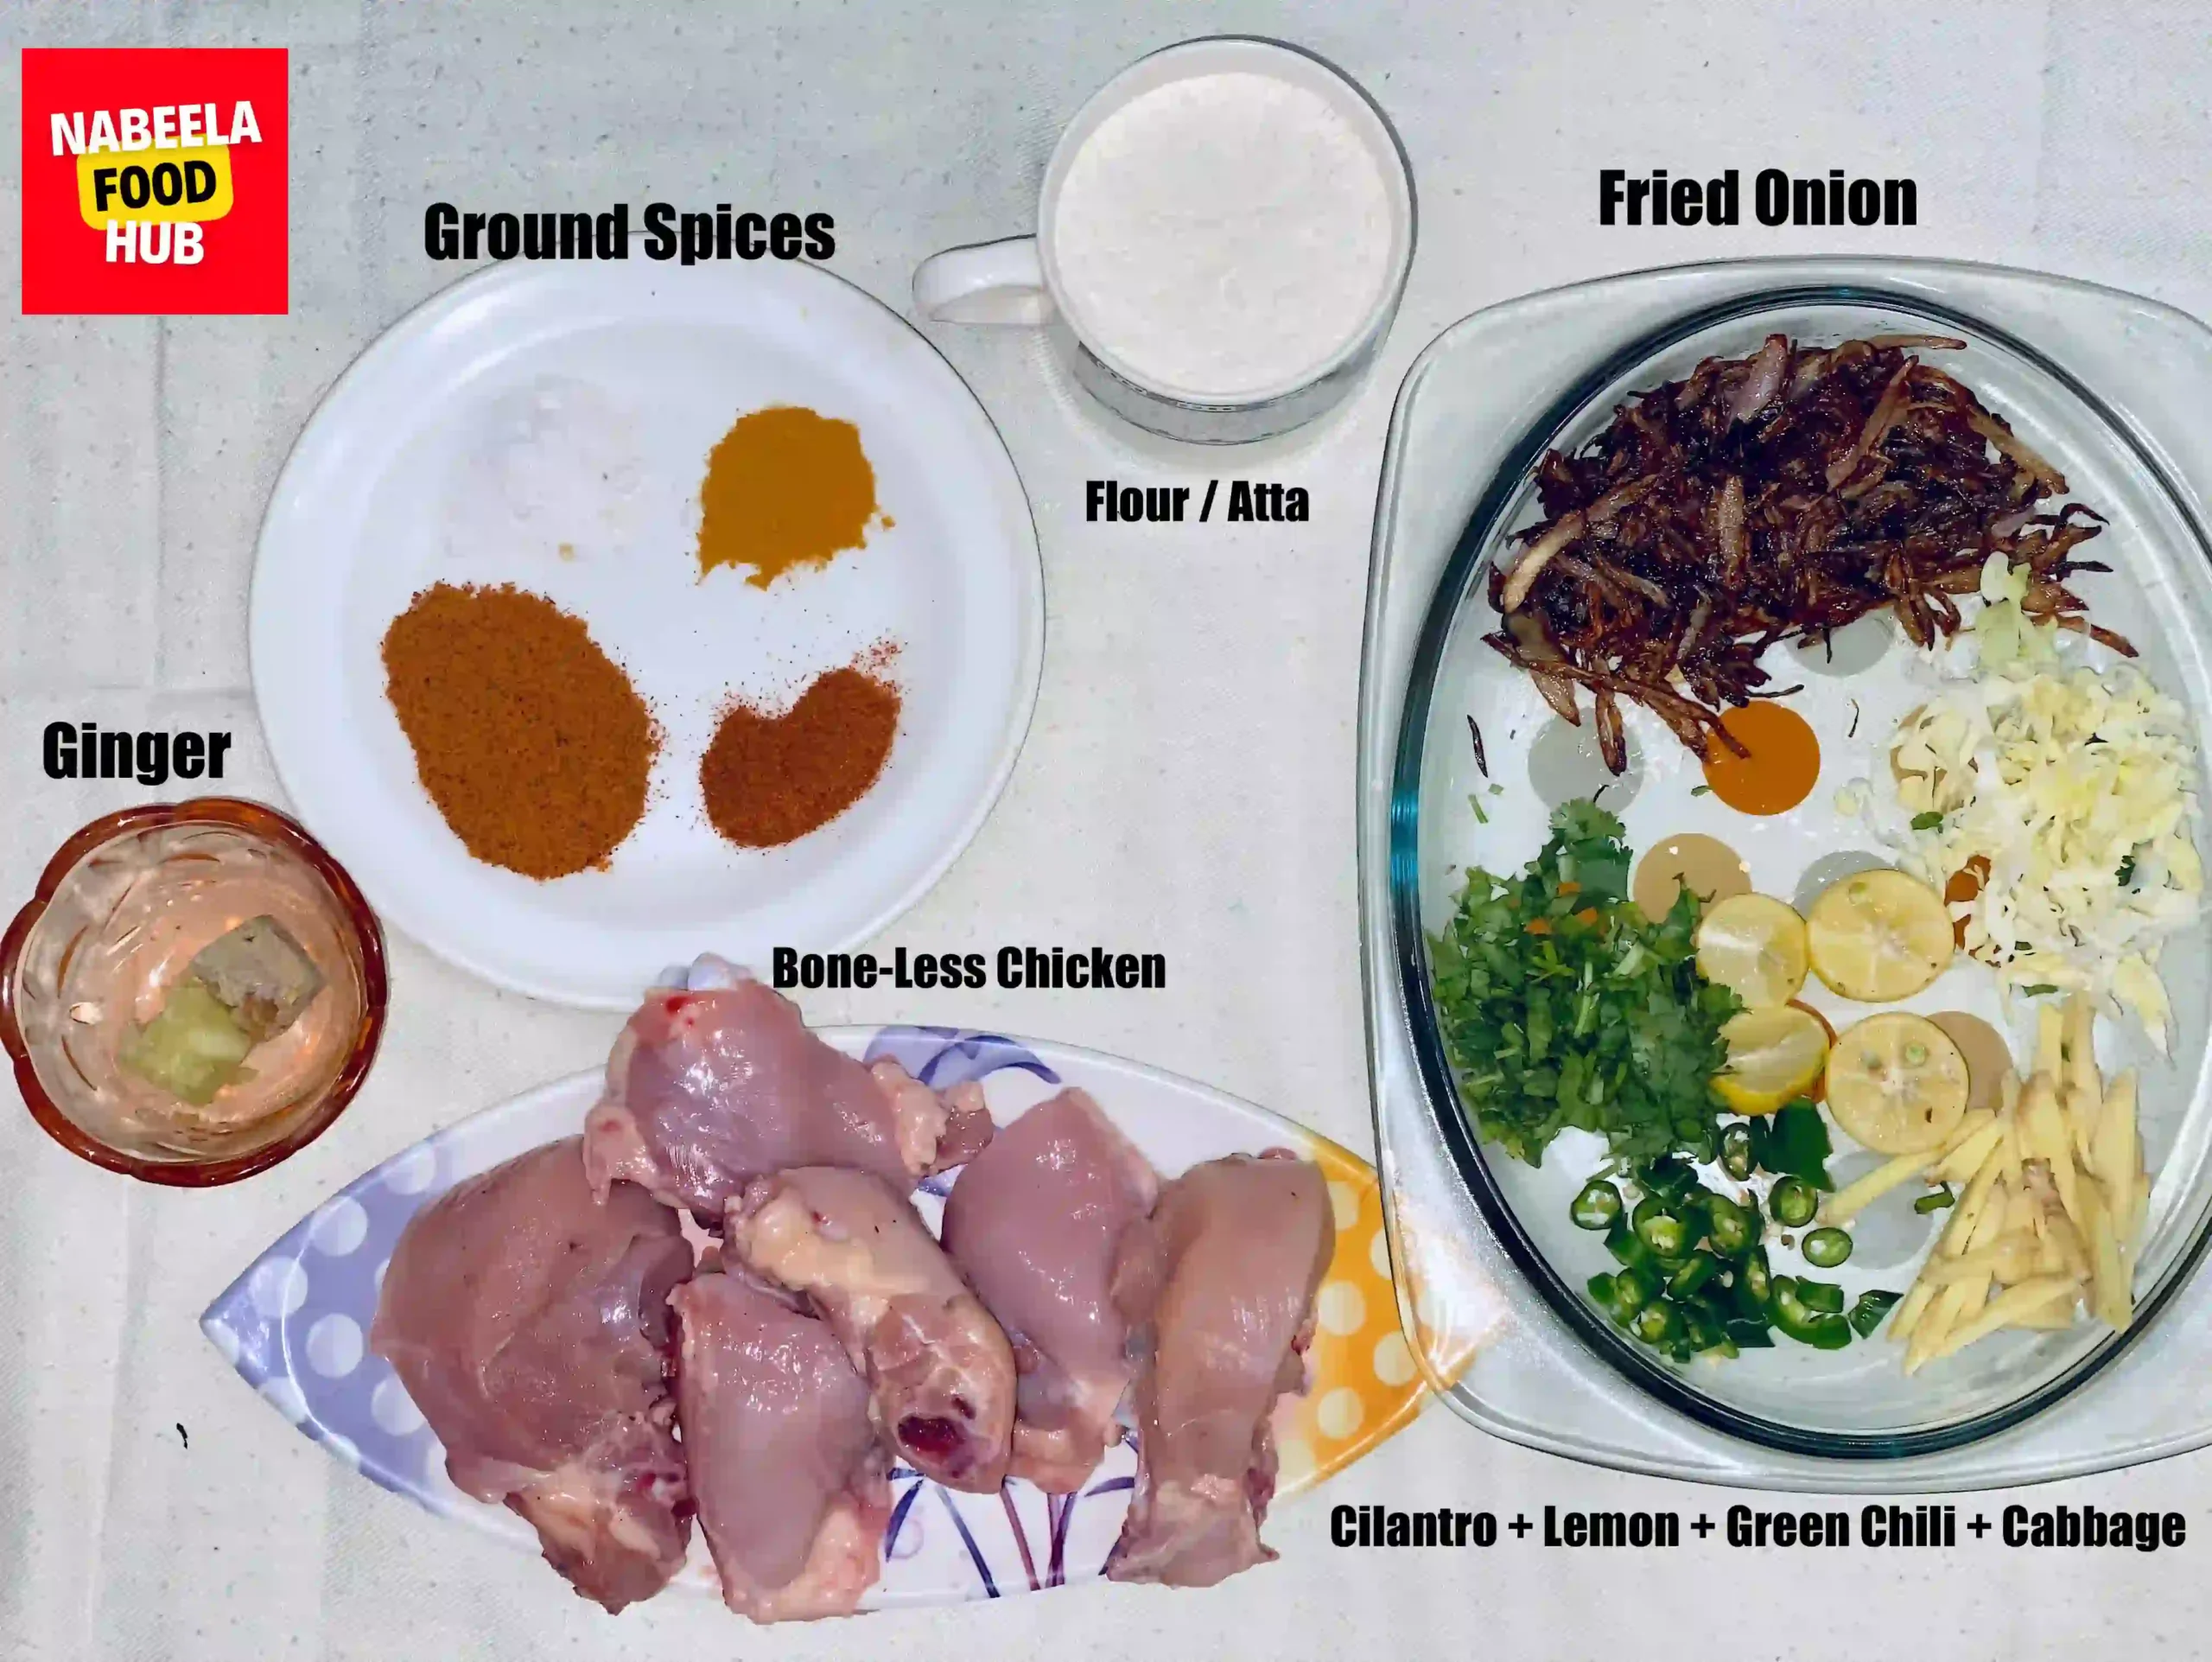
- Chicken: The prime ingredient of the stew. Always use boneless chicken for Nihari, and properly mince it for extra tender and juicy flavor.
- Nihari Masala: I’m using ready-made Nihari masala, but if you prefer homemade masala, check out the quick way mentioned above to prepare this masala.
- Ground Spices: I bet all the ground spices will be available in your kitchen. So bring all these ground spices out!
- Garlic and Ginger Paste: You must use garlic and ginger paste for a strong aroma and robust taste.
- Flour/Atta: To make the chicken Nihari thick, savory, and palatable, we often use flour or atta. Don’t forget this ingredient. Otherwise, you will get a brothy and slurry stew, a total waste.
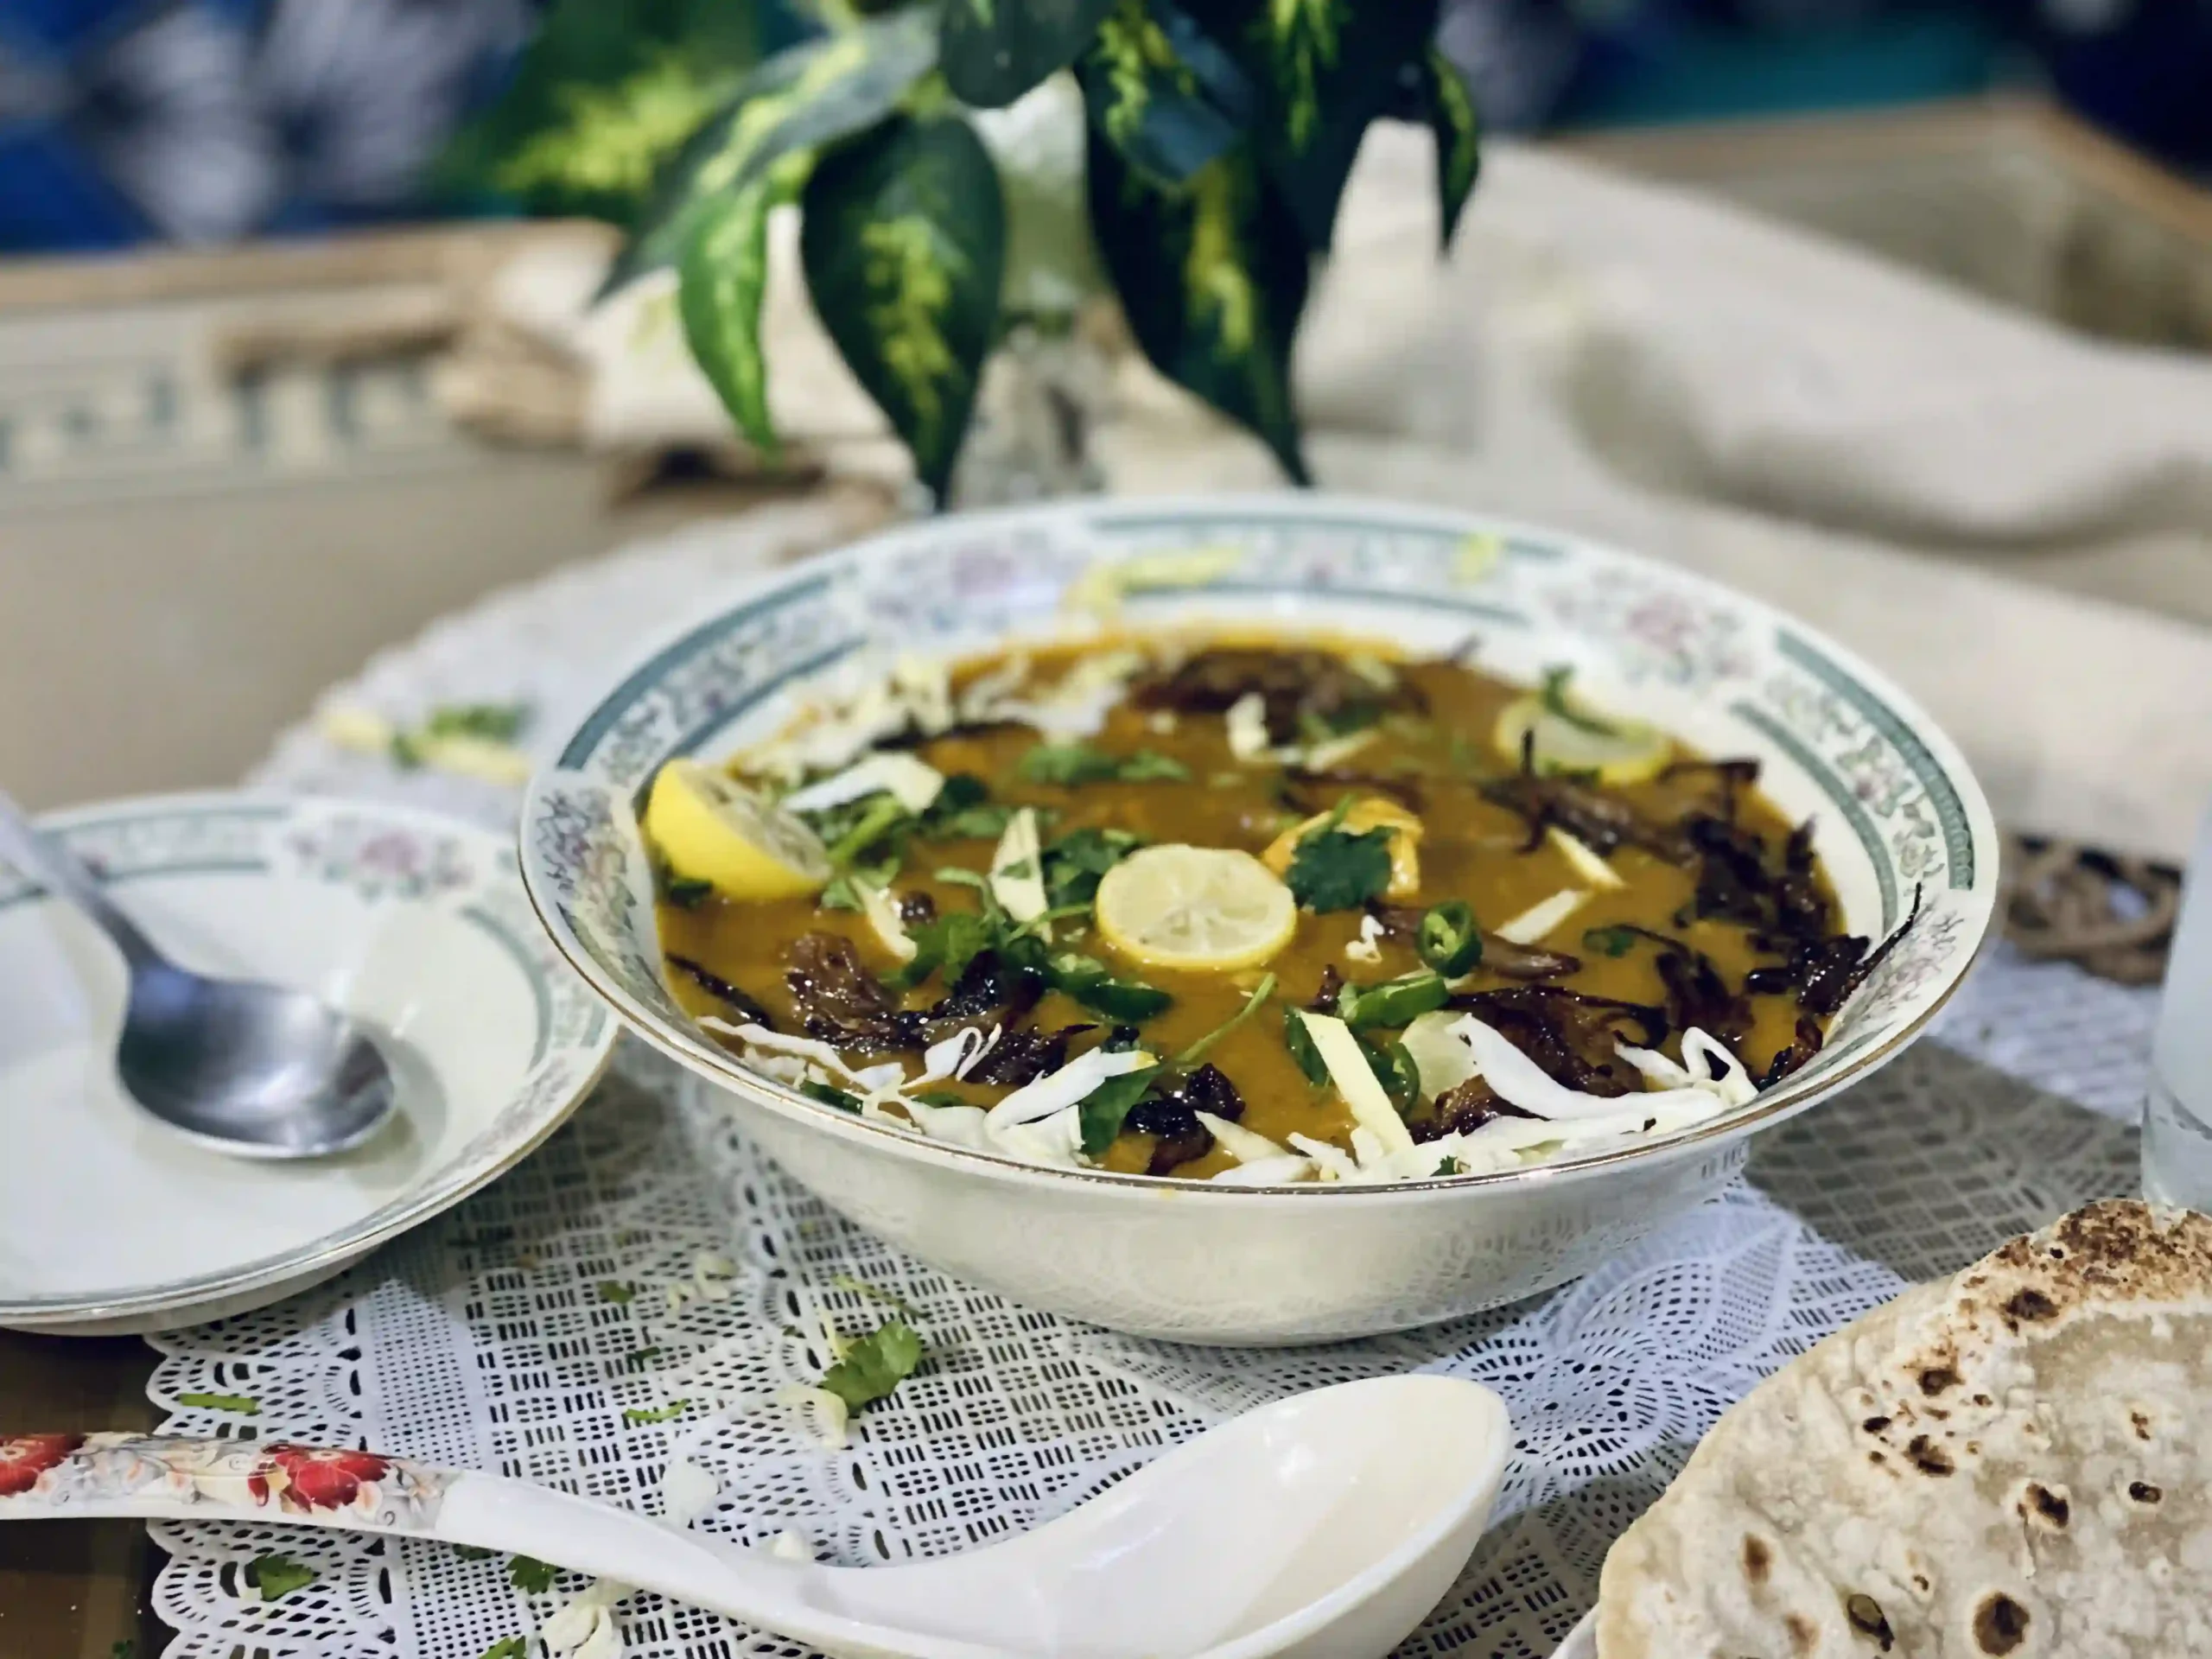
- Garnishing Stuff: I’m using fried onions, cilantro, lemon, green chili, and cabbage for garnishing.
Easy Steps To Make Chicken Nihari
So, without further ado, let’s jump into the step-by-step process of making this delicious Chicken Nihari.
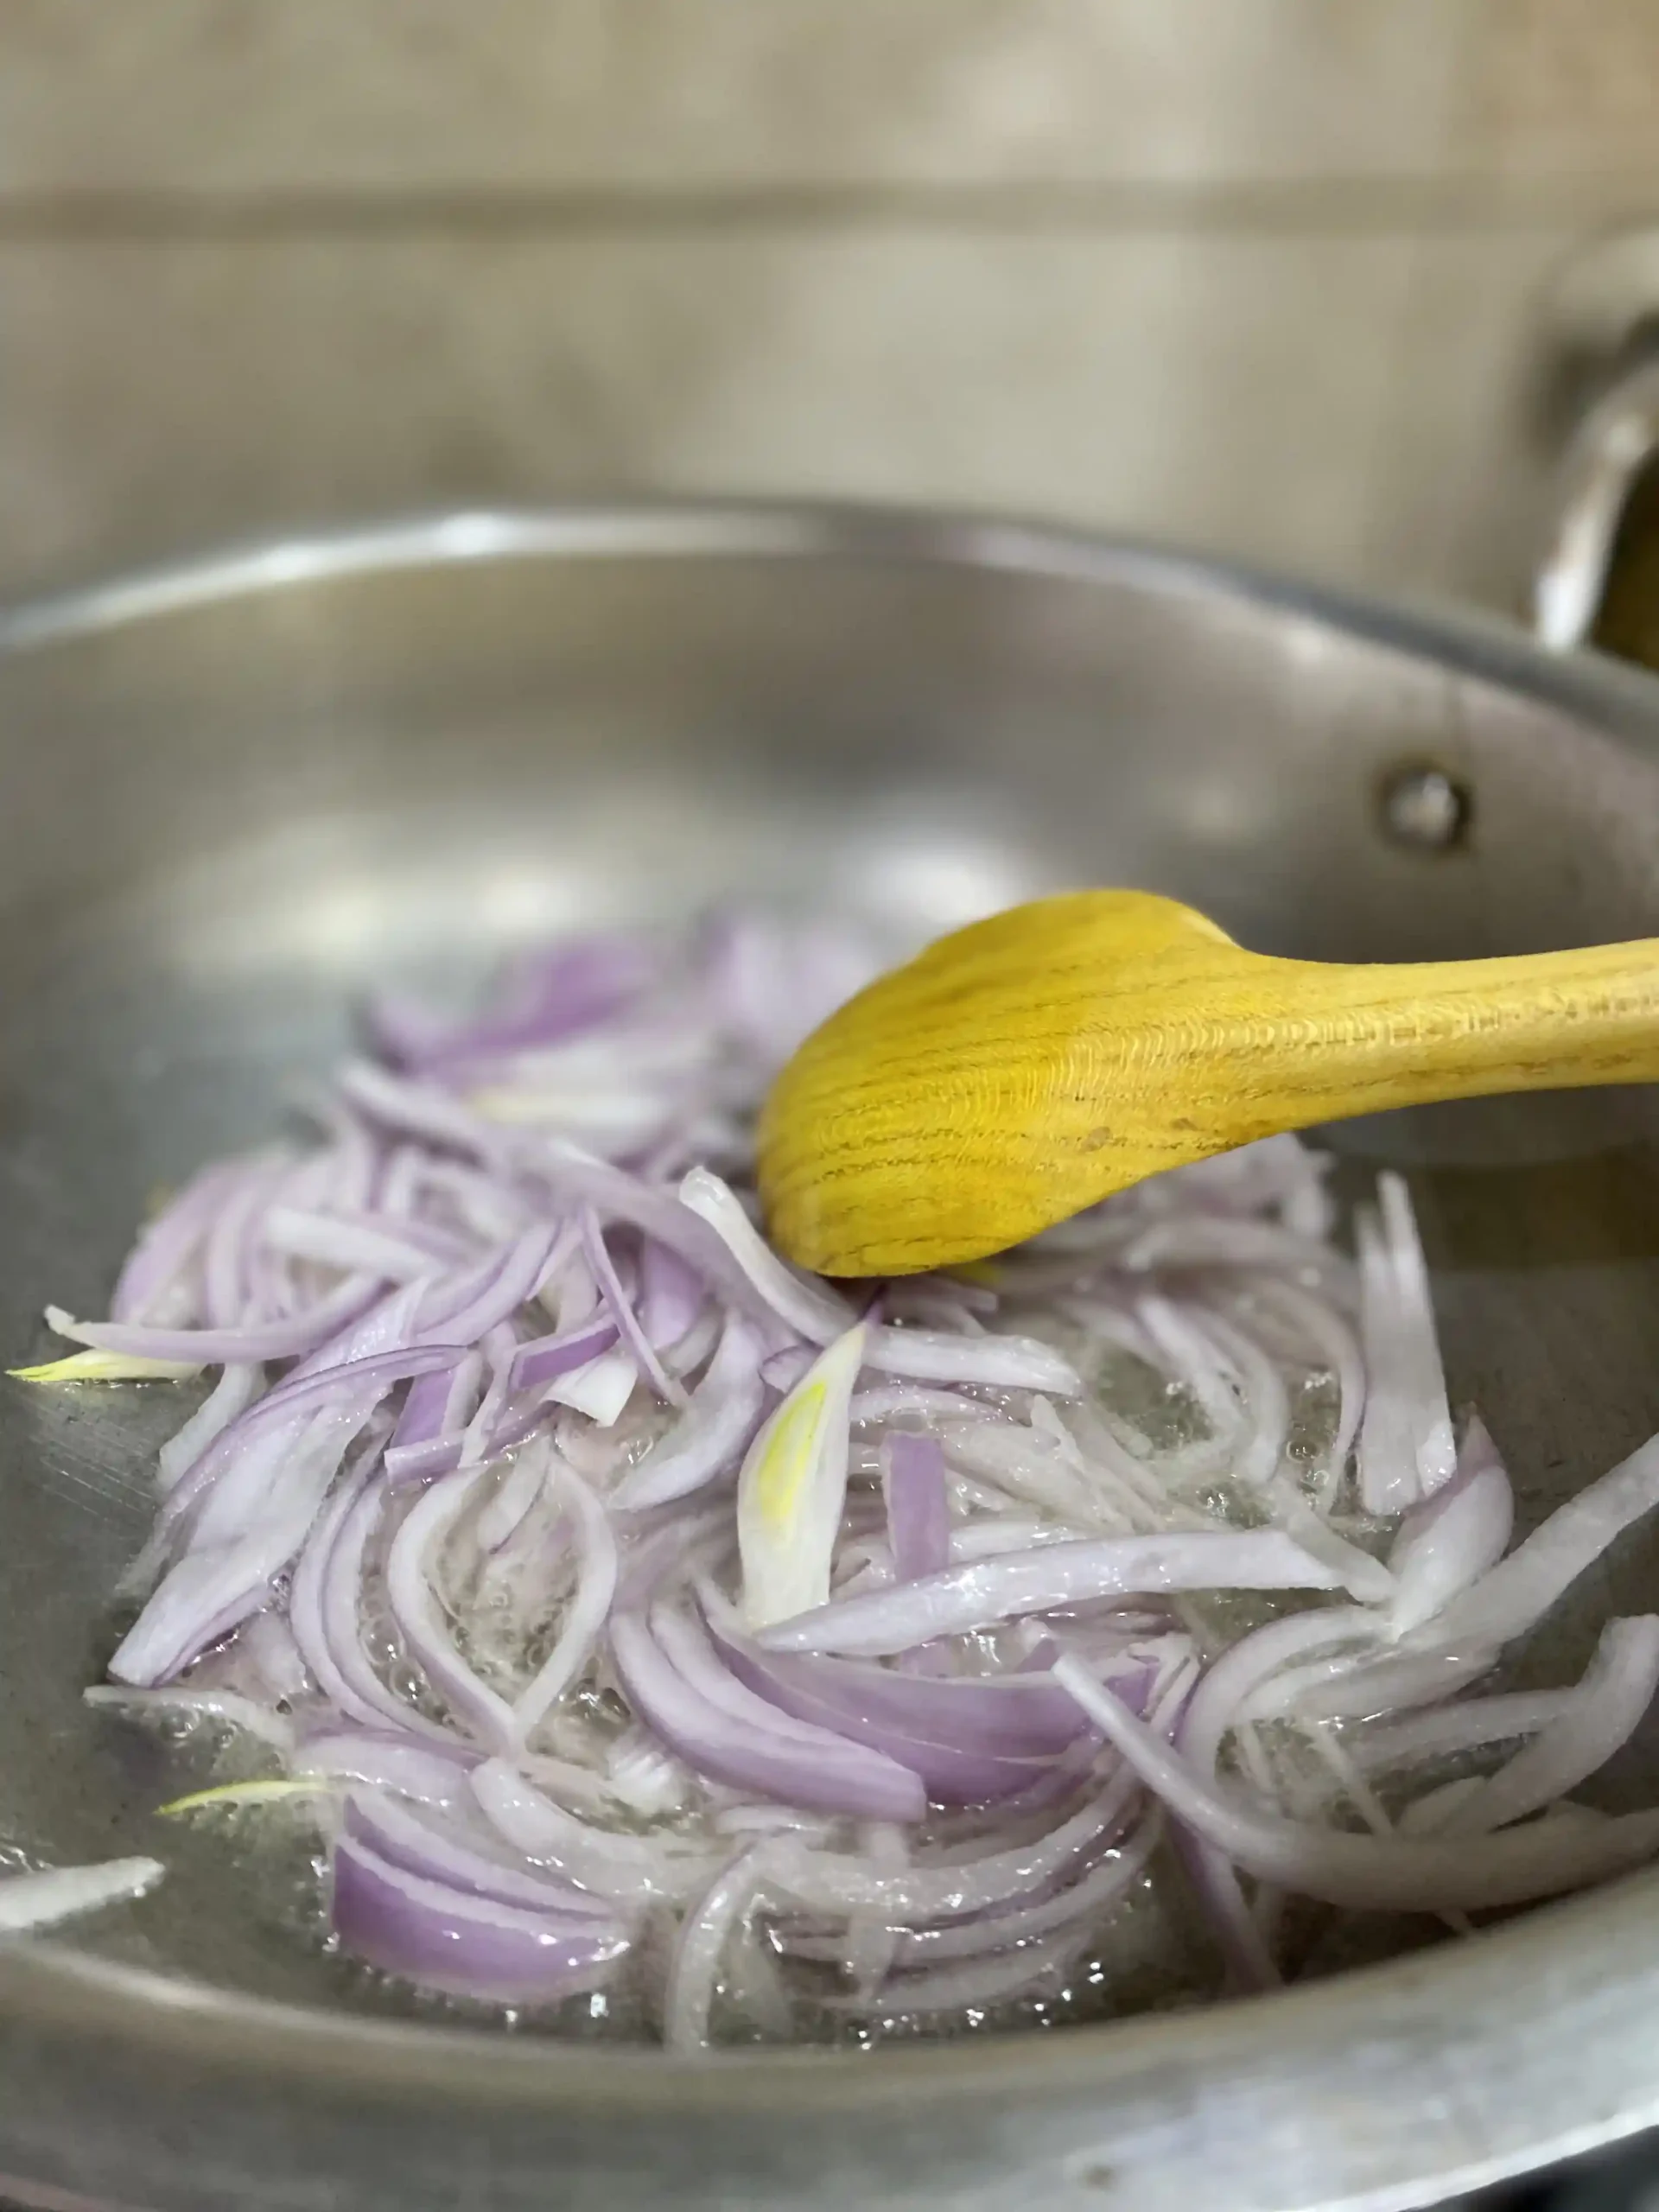
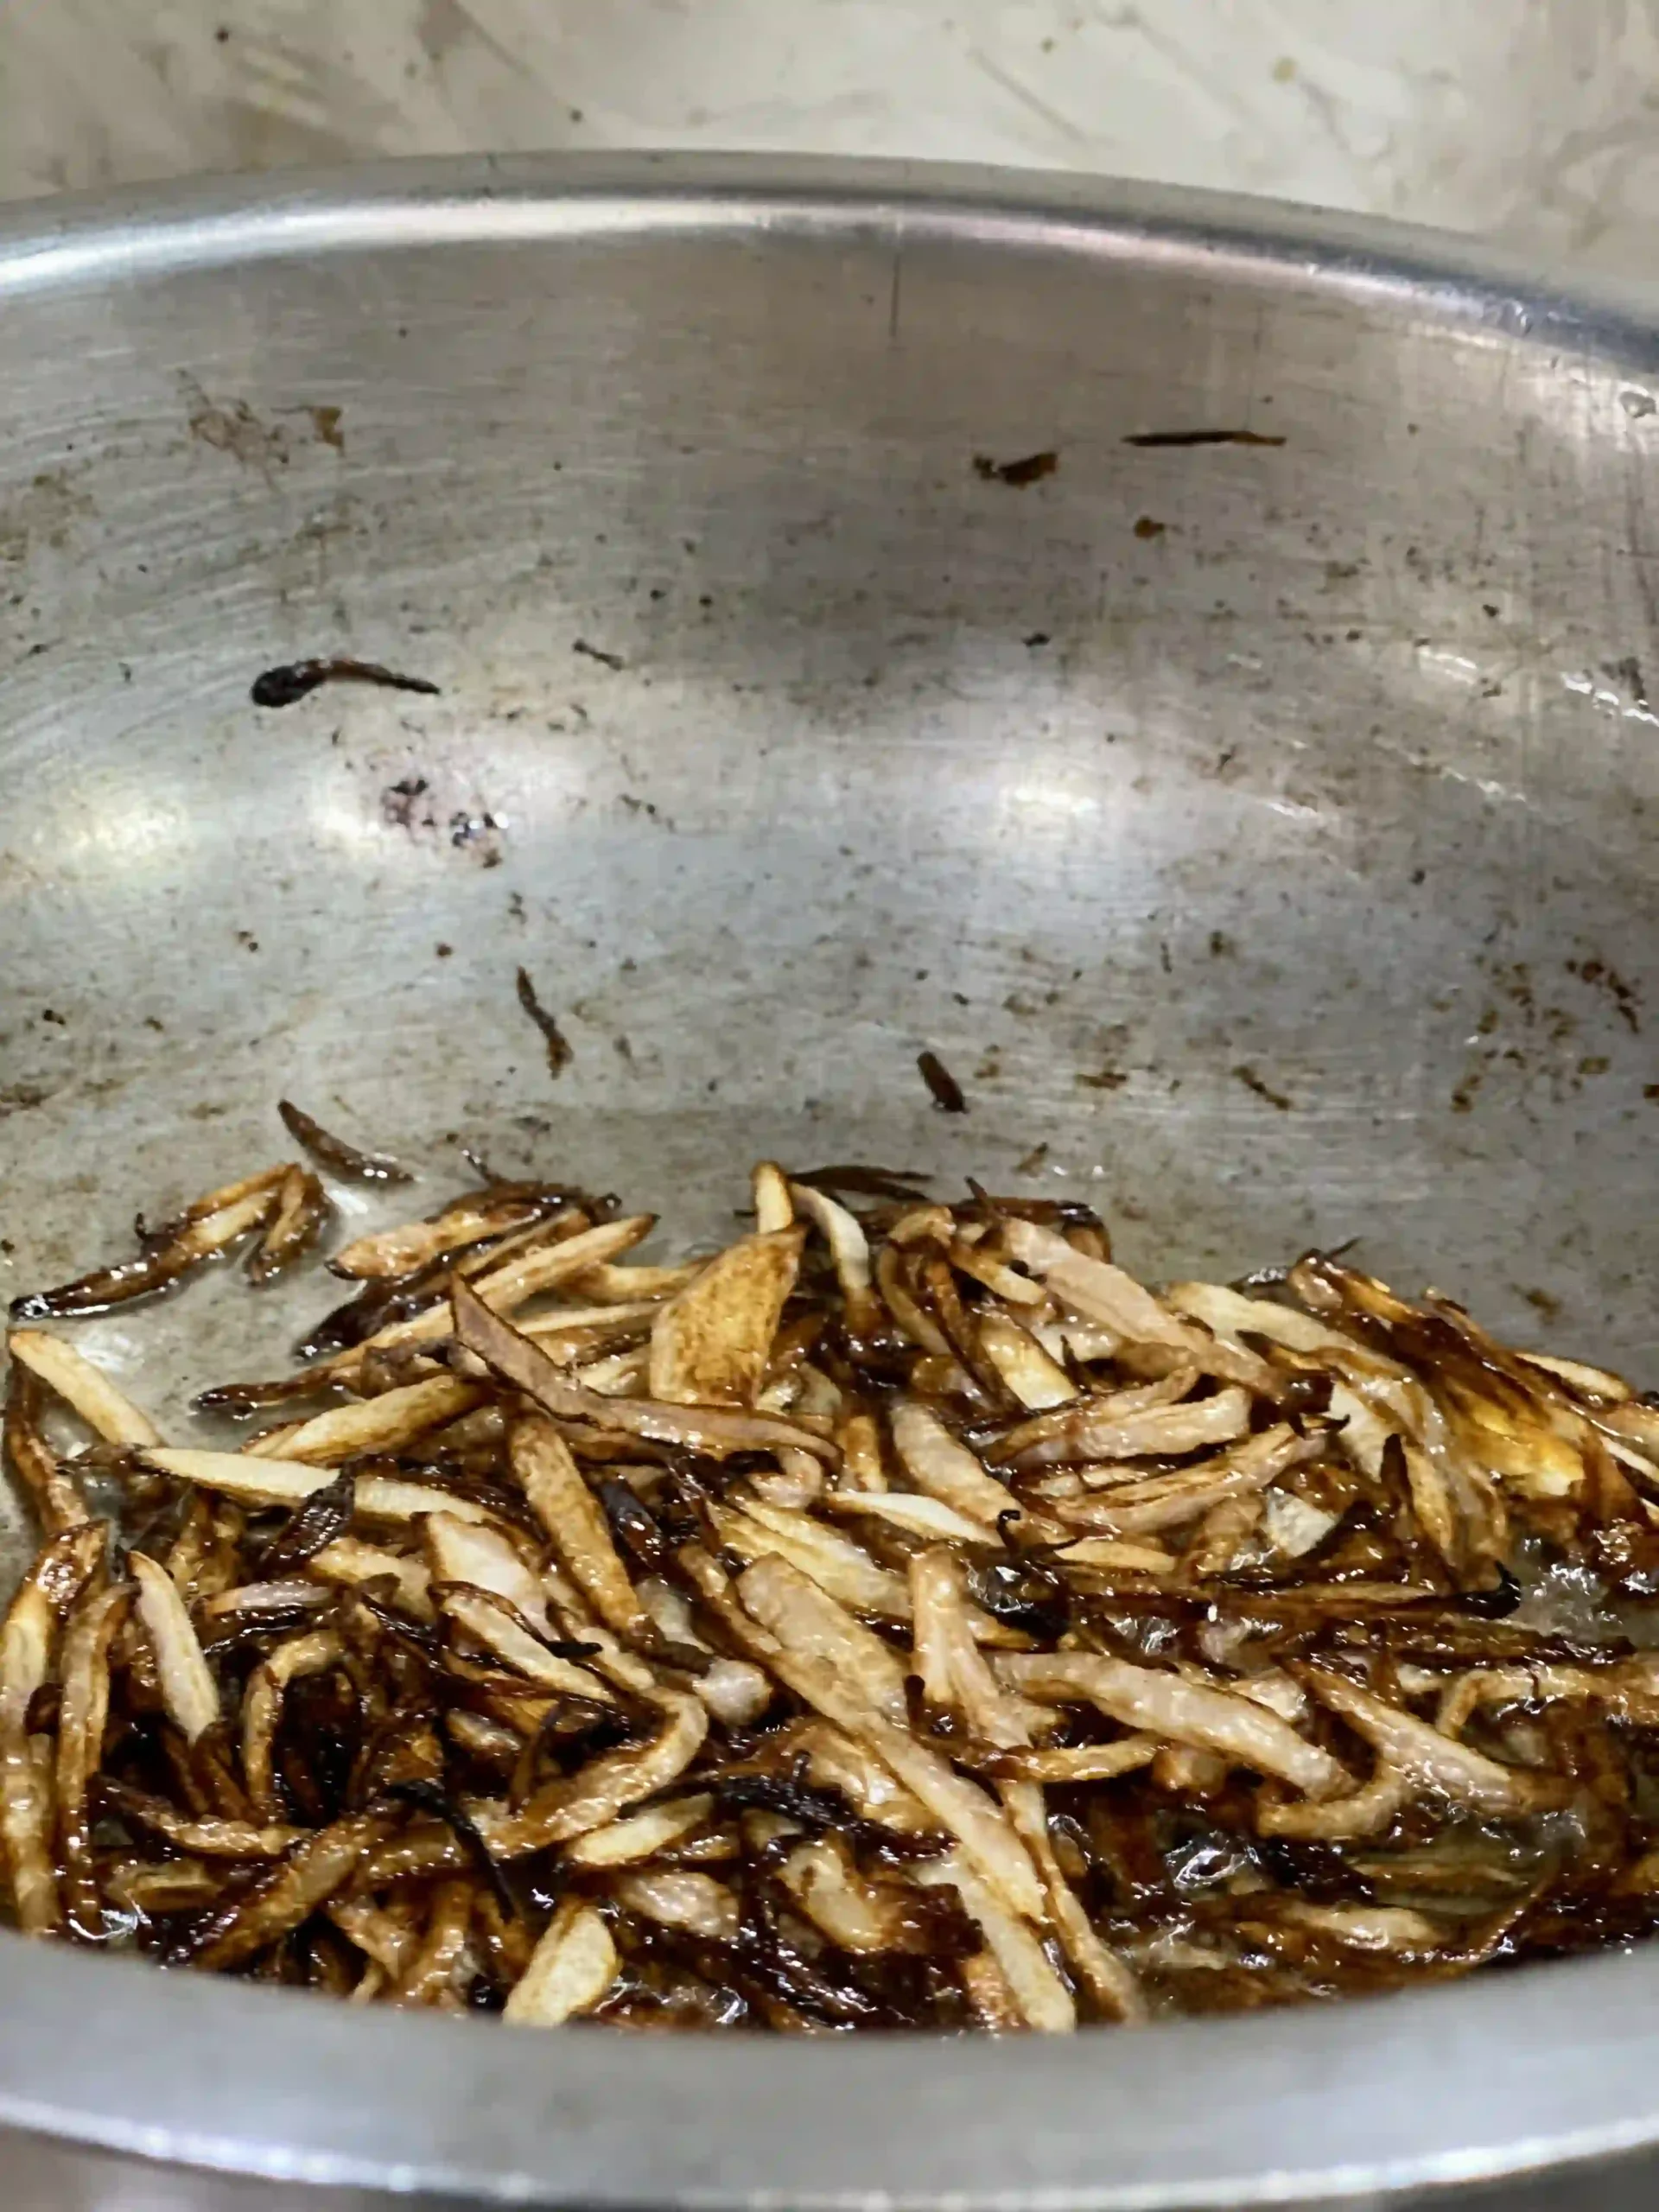
- Brown The Onions: Grab and chop the fresh onion finely. I took just one onion with 0.5 KG of chicken. If you have a large family using 1 kg of chicken, use 2 pieces of fresh onions. Deeply brown the onions in cooking oil for at least 5 to 6 minutes on medium flame.
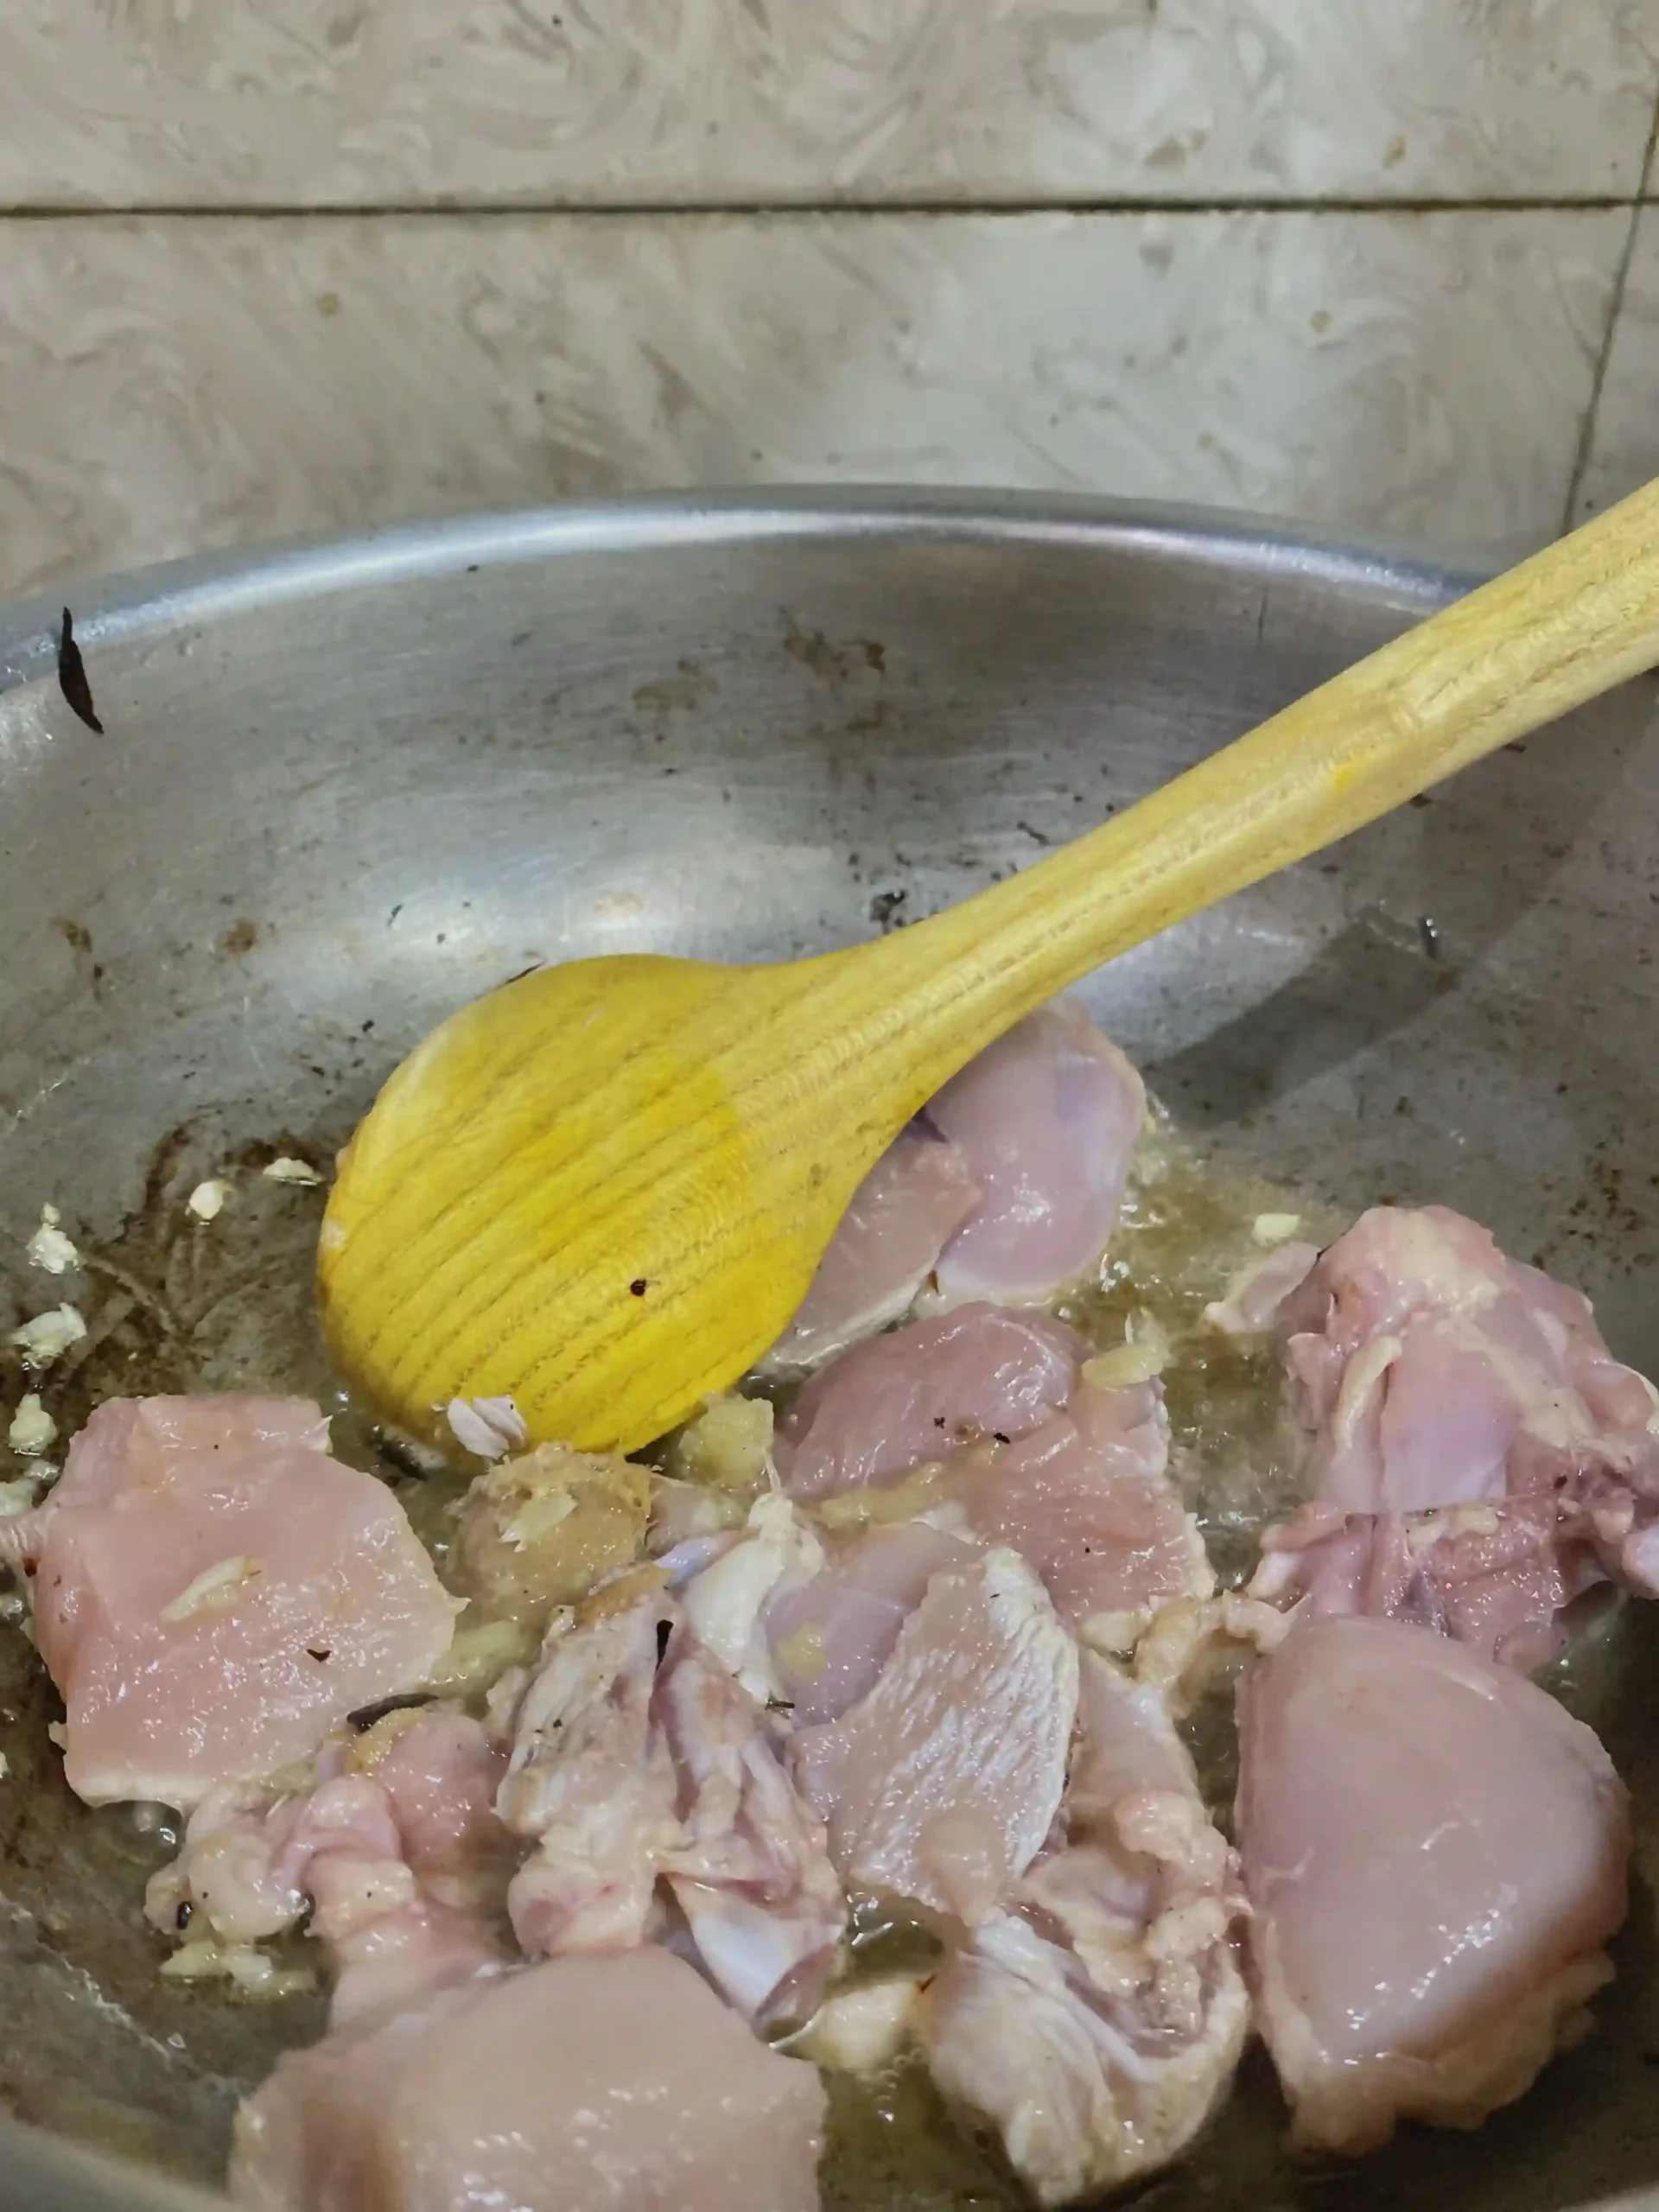
- Add Chicken, Ginger, and Garlic Paste: Now take out the onions from the karahi; we’ll use them later for garnishing. Next, pour more oil into the pan or karahi, then toss in the boneless chicken. Additionally, include ginger and garlic paste to impart a delightful flavor to the chicken. Place the lid on the pot and leave it for 6 minutes.
- Infuse The Spices: Add all the ground spices and Nihari powder. Be sure to include half a cup of water to enhance the flavor of the spices. Now, stir it for at least one minute.

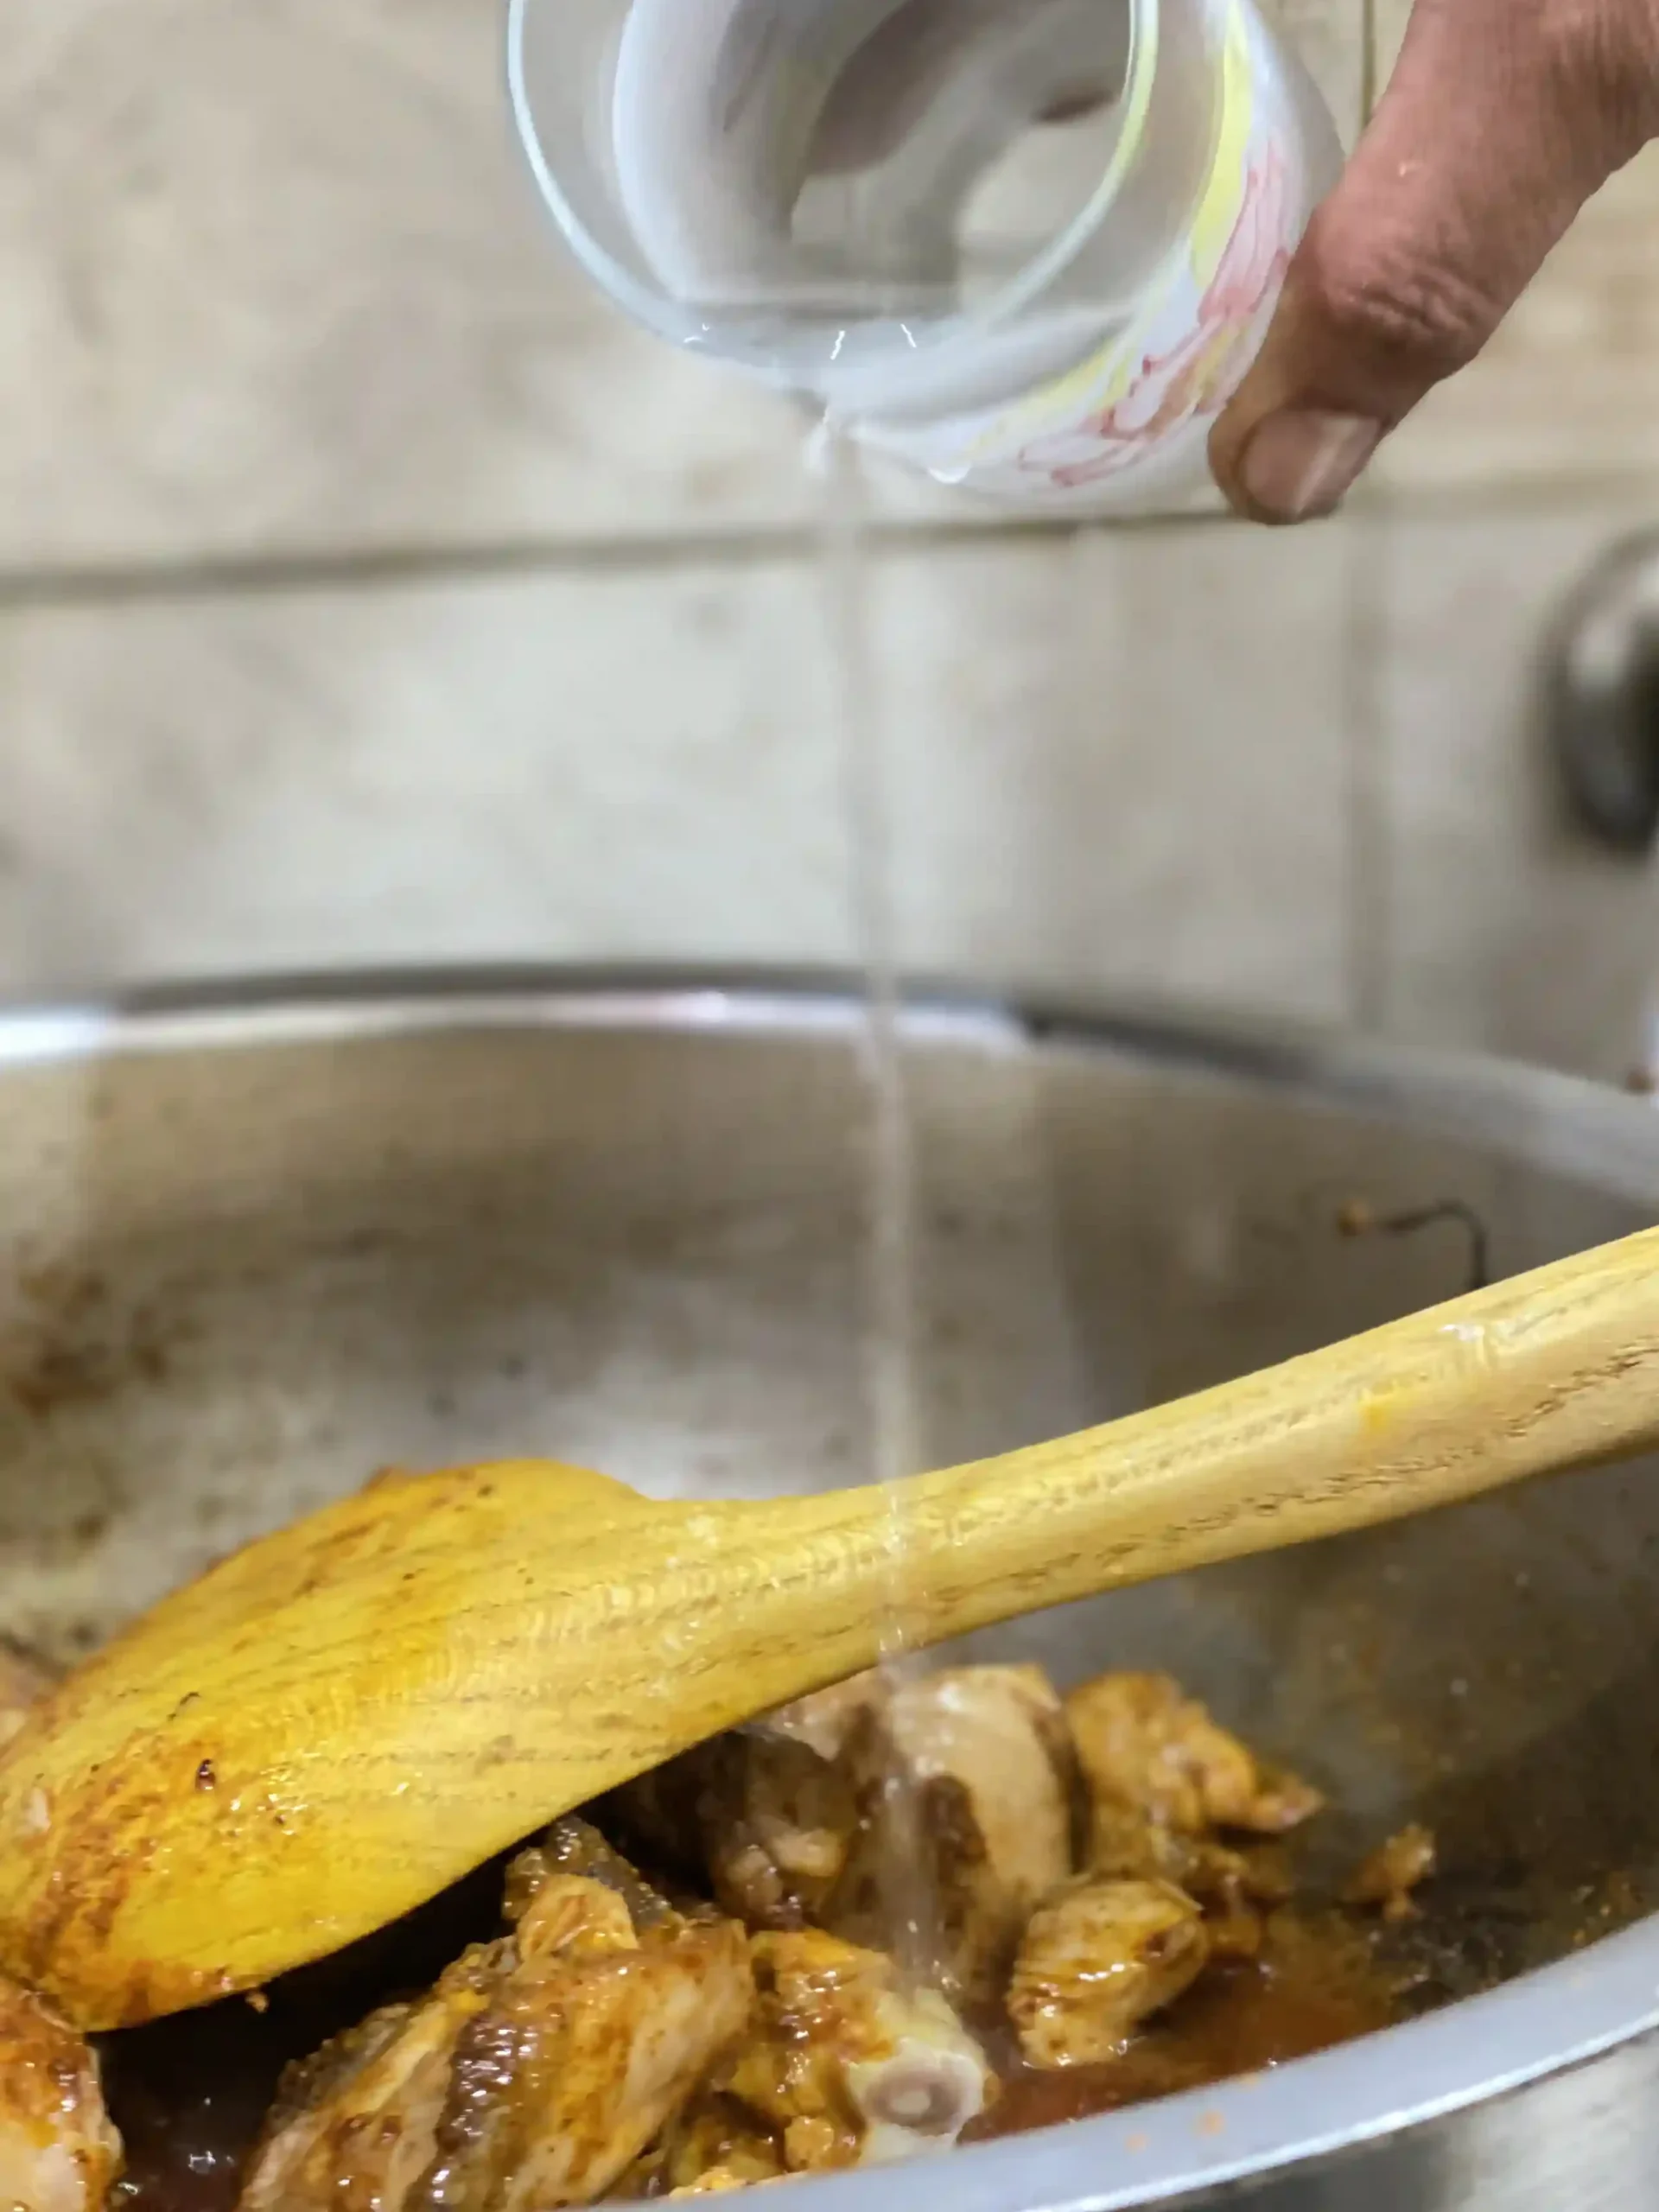
- Add More Water And Flour: Now, let’s thicken a curry. Mix a cup of flour with half a glass of water. Make sure to create a smooth blend to prevent any lumps.
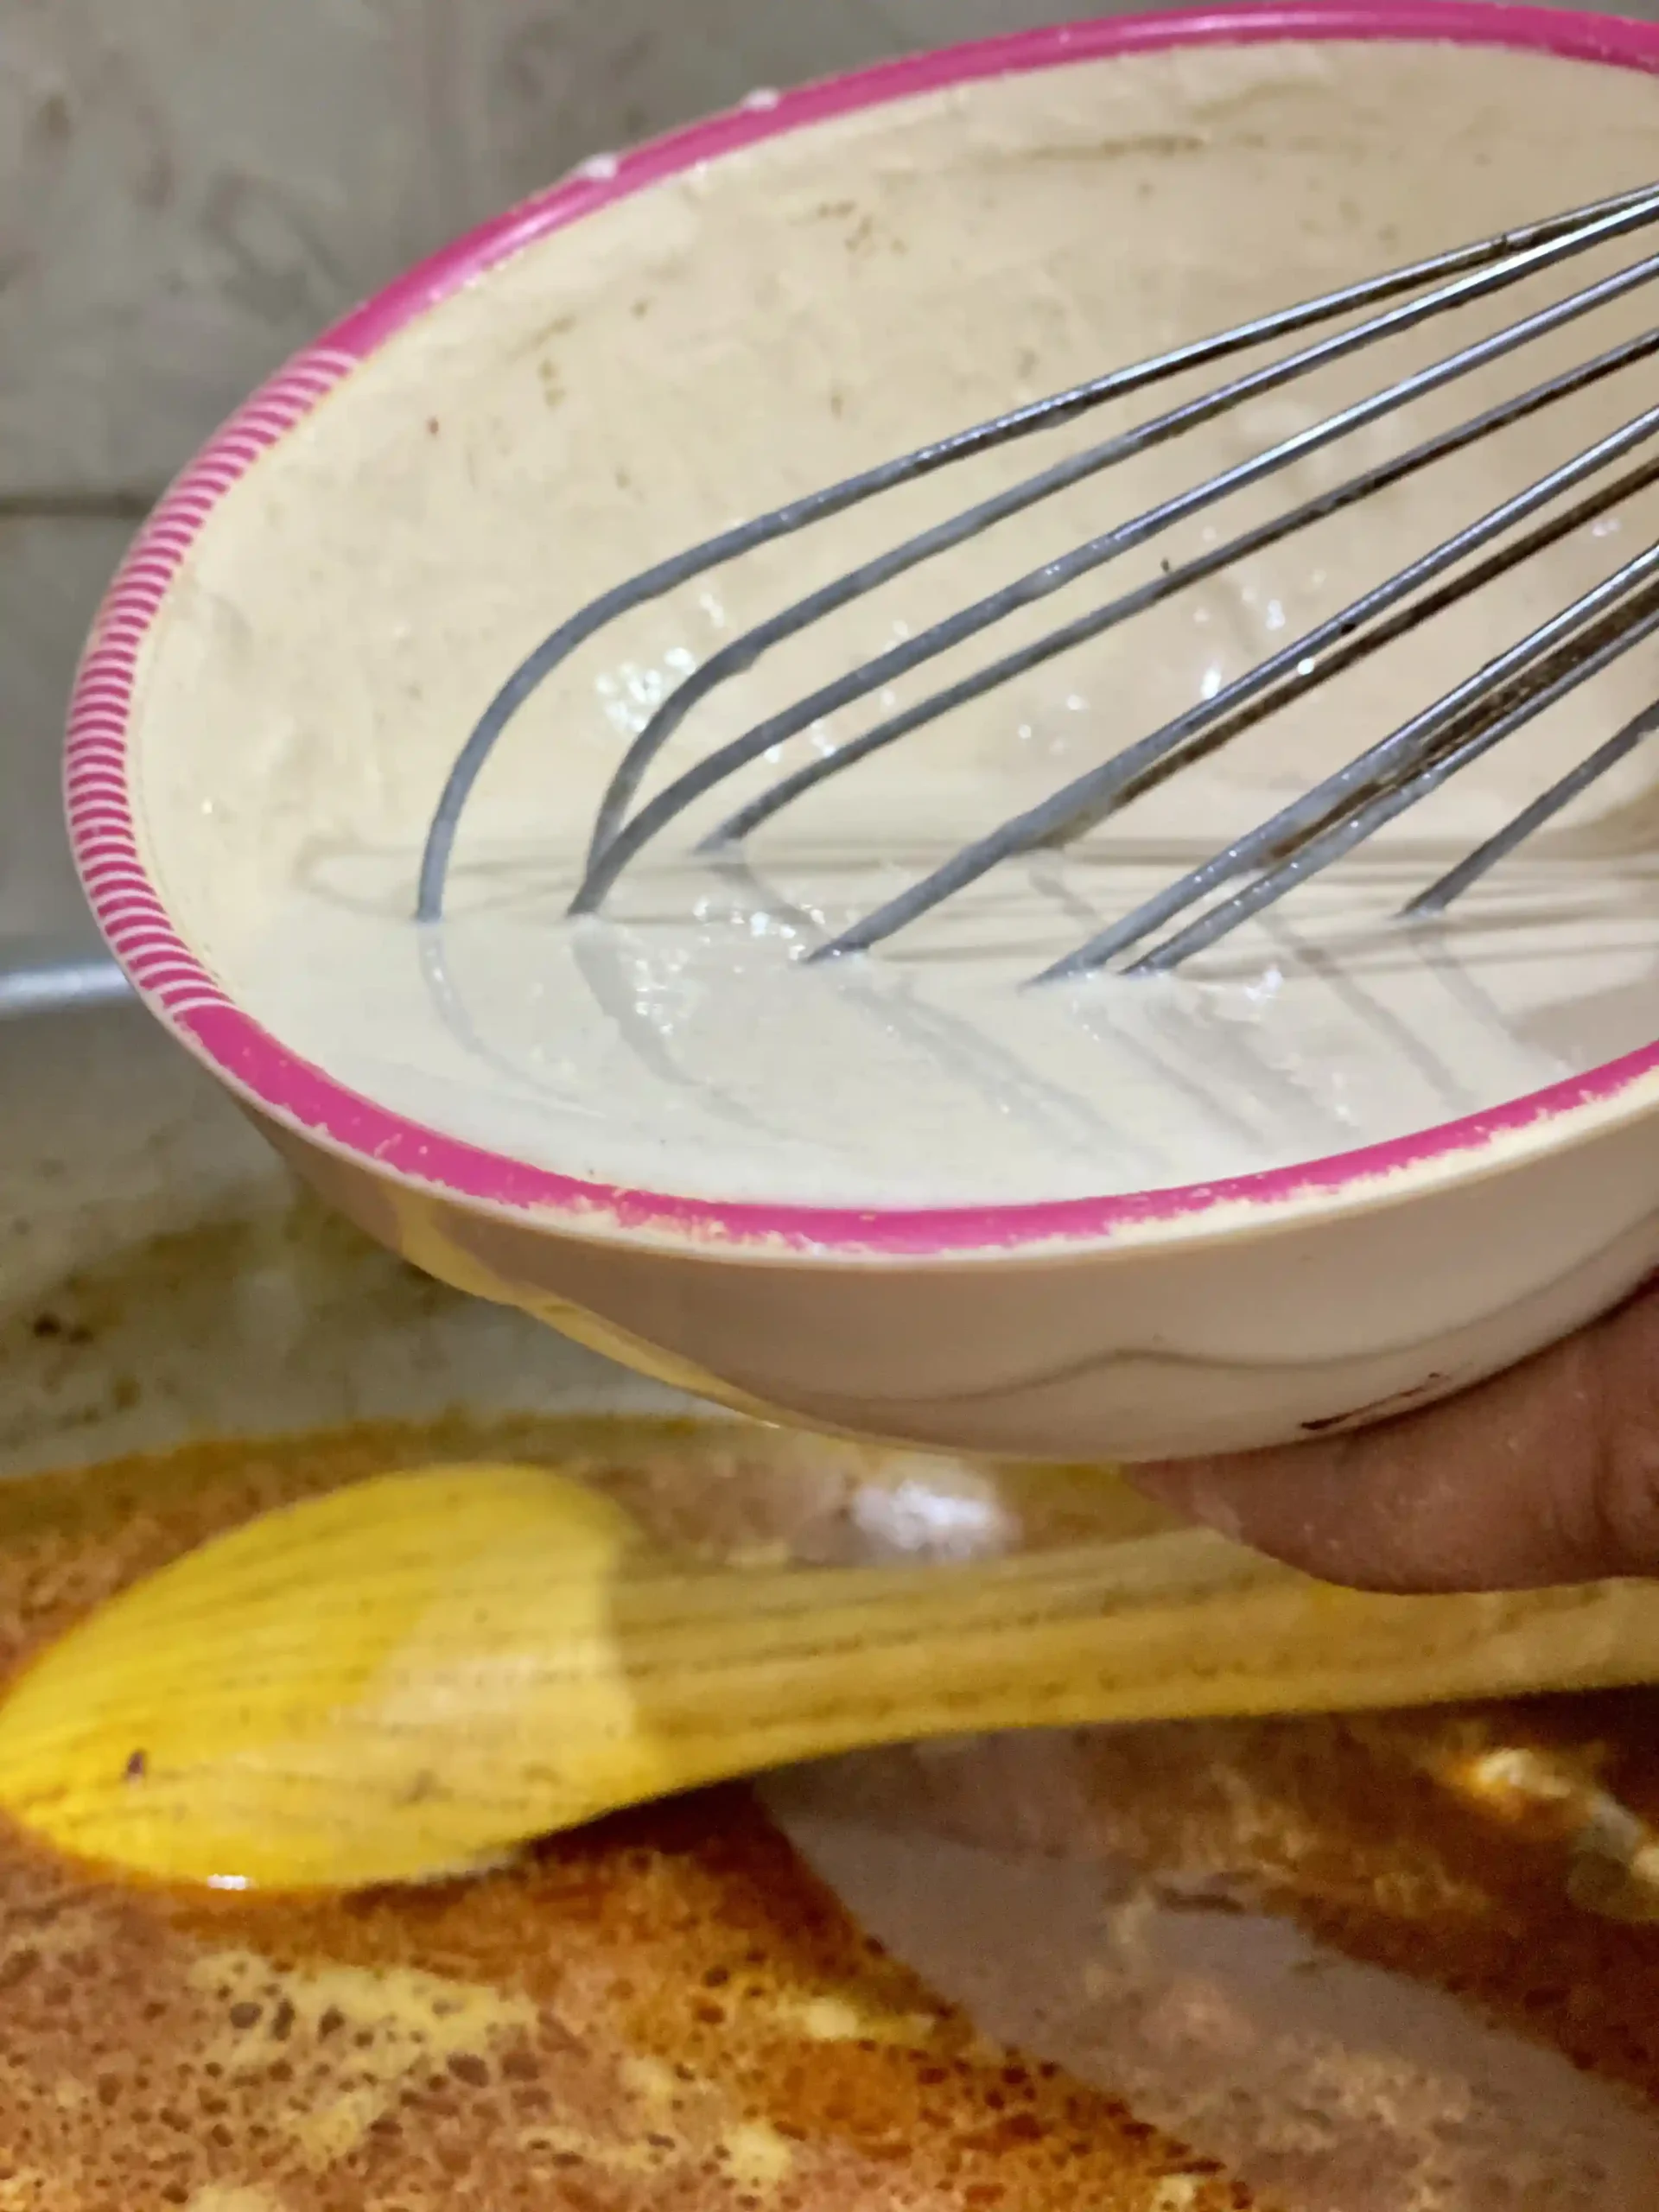
- Add at least 3 cups of water to the gravy, then add the flour slurry into the Nihari. Stir this mixture for at least 2 minutes, and let it simmer for 20 minutes.
Nabeel a’s Pro Tip
-
After adding the flour to the curry, keep the flame to simmer to avoid lumps.
-
I don’t prefer to make the Chicken Nihari too oily; that’s why I use only a limited amount of oil to make the chicken juicy.
-
Use boneless chicken for Nihari. And make sure to chip the chicken into small pieces; this will render the chicken tender and succulent.
-
Make sure that the result of gravy should be thick; in case of lumps, add some extra water to make it thin.
Variation And Addition With Chicken Nihari
1- Add Yogurt
To balance the spices and add a little subtle tangy flavor to Nihari, you can include 4 tablespoons of Yogurt. It will provide a unique combination of creaminess, tanginess, and other subtle influences that can elevate the overall taste of the chicken Nihari.
2- Add Extra Layer Of Spices
If you’re a fan of fiery flavors, you can add an extra layer of spices on top of chicken Nihari.
Start by pouring a scant half cup of oil into the pan, then sprinkle in half a teaspoon of red chili powder (Tea Laal Mirch). Cook the mixture until it takes on a dark color. Finally, drizzle this seasoned oil over the Nihari gravy to intensify its spiciness.
FAQs
What To Serve With The Chicken Nihari?
Want to present unique stuff on your table with Chicken Nihari? I know on special occasions or invitations, Pakistanis and Indians laden the tables with delicious dishes.
Here are some complimentary items that you should serve with the Nihari.
- Naan/Chapati/Roti
- Steamed Rice
- Raita
- Pickles
You can use cooked onions, lemon wedges, chopped ginger, coriander, green chili, and cabbage for garnishing.
More Chicken Recipes
Chicken Nihari
Ingredients
- 0.6 KG Boneless chicken
- 1 Cup Oil
- 1 tsp Ginger Paste
- 1 tsp Garlic Paste
- 1 tsp salt
- 1 tsp Red chili powder
- ½ tsp Turmeric powder
- 1 Nihari Masala Store-bought
- 1 Cup flour (atta)
- Coriander
- 2 – 3 Lemons
- 2 – 3 Green Chillies
- Cabbage
Instructions
- Heat the oil in a pot and add chopped onions to it. Stir it for 5 – 6 minutes until the onions get brown. Remove some of the onions from the pan– later, we will use it for garnishing.
- Put chicken, ginger, and garlic paste in the pan and stir it for 6 minutes.
- Add ground spices and Nihari masala. Don’t forget to add a splash of water to cook the spices effectively.
- Put the cup of flour and half a cup of water in another pot, and mix the paste well to make it thick.
- Add 3 cups of water to the gravy, and then toss the flour paste to make the stew thick.
- Stir the stew on a low flame for 2 to 3 minutes and leave it for 17 – 20 minutes. Keep stirring the spoon from time to time.
Garnishing
- Lemon Wedges
- Cooked onions
- Coriander
- Chopped Ginger
- Green Chili
- Cabbage
How To Serve Chicken Nihari
- You can serve the chicken Nihari with naan, chapati, roti, or paratha.
- You can use service chicken Nihari with steamed rice.
- Don’t forget to present a Rita with the chicken Nihari.