Pink Velvet Cookie Recipe
When it comes to cookies that are not only delicious but also visually stunning, pink velvet cookies take the cake—quite literally! These delightful treats are a perfect blend of vibrant color, tender texture, and sweet flavor, making them a standout for any occasion.
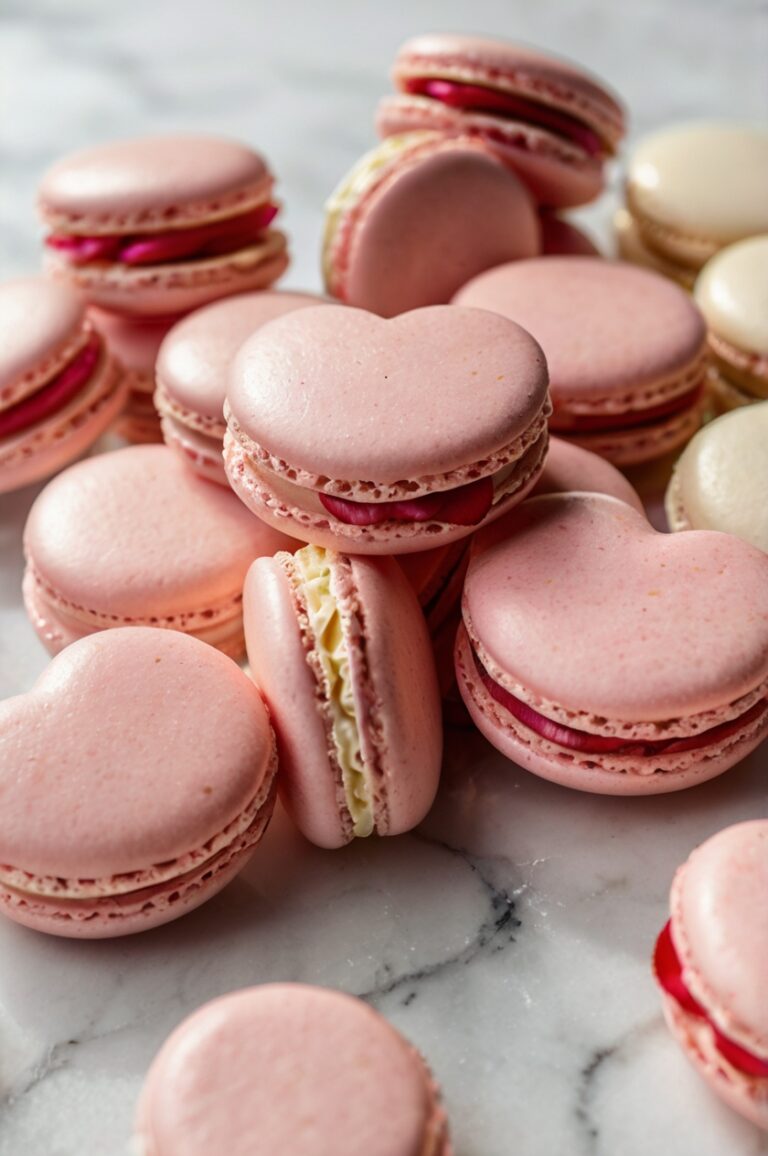
Whether you’re baking for Valentine’s Day, a baby shower, or simply to satisfy your sweet tooth, pink velvet cookies never fail to impress. Their signature pink hue adds a cheerful charm to your dessert table, while their soft and chewy texture ensures every bite is a delight.
Why You Will Love This Recipe
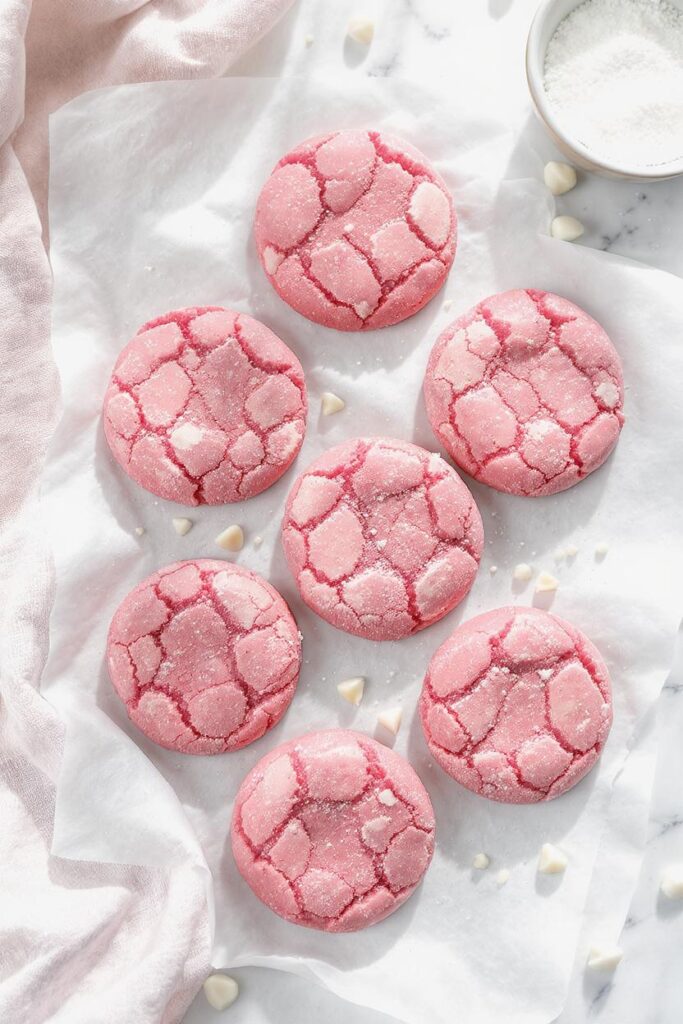
- Beautiful Presentation: The vibrant pink color of these cookies is eye-catching and perfect for special occasions or gifting.
- Soft and Chewy Texture: These cookies have a melt-in-your-mouth quality that’s impossible to resist.
- Simple Ingredients: You likely already have most of the ingredients in your pantry, making this recipe quick and convenient.
- Customizable Flavor: While the recipe calls for vanilla and white chocolate chips, you can experiment with other extracts or add-ins to suit your taste.
- Crowd-Pleaser: Whether for kids or adults, these cookies are guaranteed to be a hit at any gathering.
Ingredients
For the perfect pink velvet cookies, you’ll need the following:
- 2 ½ cups all-purpose flour
- 1 teaspoon baking powder
- ½ teaspoon baking soda
- ½ teaspoon salt
- 1 cup unsalted butter, softened
- 1 ½ cups granulated sugar
- 1 large egg
- 2 teaspoons vanilla extract
- 2 teaspoons pink food coloring (gel preferred)
- 1 cup white chocolate chips
Step-by-Step Instructions

- Prepare the Dry Ingredients:
In a medium bowl, whisk together the flour, baking powder, baking soda, and salt. Set this mixture aside. - Cream the Butter and Sugar:
In a large mixing bowl, use a hand or stand mixer to cream together the softened butter and sugar until light and fluffy. This step is crucial for achieving a tender cookie texture. - Add Egg and Vanilla:
Beat in the egg and vanilla extract until fully incorporated. Then, add the pink food coloring, adjusting the quantity to achieve your desired shade of pink. - Combine Wet and Dry Ingredients:
Gradually add the dry ingredients to the wet ingredients, mixing until just combined. Avoid overmixing, as this can make the cookies tough. - Fold in White Chocolate Chips:
Gently fold in the white chocolate chips, ensuring they are evenly distributed throughout the dough. - Chill the Dough:
Cover the mixing bowl with plastic wrap and refrigerate the dough for 30 minutes. Chilling helps the cookies hold their shape while baking. - Preheat the Oven:
While the dough chills, preheat your oven to 350°F (175°C). Line two baking sheets with parchment paper. - Shape the Cookies:
Using a cookie scoop or tablespoon, portion the dough into small balls and place them on the prepared baking sheets, spacing them about 2 inches apart. - Bake:
Bake the cookies for 10-12 minutes or until the edges are set but the centers are still soft. The cookies may appear slightly underbaked but will firm up as they cool. - Cool and Enjoy:
Allow the cookies to cool on the baking sheet for 5 minutes before transferring them to a wire rack. Once completely cool, they are ready to serve!
Variations

- Chocolate Drizzle: After the cookies cool, drizzle melted white or dark chocolate over the tops for an elegant touch.
- Cream Cheese Filling: Turn these cookies into sandwiches by spreading cream cheese frosting between two cookies.
- Sprinkle Fun: Roll the cookie dough balls in sprinkles or sanding sugar before baking for added texture and color.
- Nutty Twist: Add chopped pistachios or almonds to the dough for a bit of crunch and a complementary flavor.
How to Serve
Pink velvet cookies are versatile and can be served in various ways:
- As a Dessert Table Star: Arrange them on a pretty platter for a festive display.
- With a Beverage: Pair them with milk, coffee, or tea for a cozy treat.
- Gifting: Pack them in a decorative tin or cellophane bags tied with a ribbon for a thoughtful homemade gift.